The Fog project is an image server I setup to help out when deploying new (well in my case old computers). I started volunteering to refurbish donated old computers for people who otherwise can’t afford one. The steps of refurbing each computer include installing windows 10 and a few programs, which while not all that difficult can be time consuming. An image server can really cut down on install time.
Hard Drive Images and Image Servers
To understand what exactly I set up (and why) I first have to explain a bit about hard drive images, image servers and network booting. Don’t worry if you don’t understand something, the main takeaway should be it is a massive time saver for a little up front effort.
Hard Drive Images
Hard drives are what store all the programs and files on your computer, an image of the hard drive is a snapshot of the current state of the drive (almost like a list of all the 1’s and 0’s on the drive). You can clone images to create exact copies of the hard drive. The ability to copy the state of the drive is very useful in a number of situations, for example backups, if I take an image of a server every day at midnight and something happens to the server - as long as I have that image, I can recreate the state the computer was in when I took the image. Even if the server was destroyed because the building was flooded and covered in water. If the image was safely stored somewhere offsite I can deploy it to another hard drive in another computer and my server will be back online (*some conditions apply - but for the most part it can be that easy).
Similarly if I am a company with 5000 employees and want to get them all working off the same computer programs and settings, I can create an image and deploy it to all the computers, rather than manually install windows, change the settings, and install the required programs on each computer. Or if I was planning to refurbish a number of computers and they all required the same setup, I could create an image and deploy that image to each computer I was refurbishing.
Image Servers
Image servers are servers that are responsible for storing, capturing, deploying and basically managing the hard drive images. The high level work flow is that you first do a manual install of the operating system and programs and get everything just right and then have the image server capture that image, which can then be deployed to different groups of computers. If you were a large company and had different departments like accounting, design and engineering it wouldn’t make sense to deploy the same image to everyone - there are programs that each department needs that will never be used by other departments, so an image server can store multiple images and deploy them to specific groups. Another great thing about images is that it doesn’t matter what OS you are using. Images work on the whole hard drive, so Windows, MAC or Linux doesn’t matter.
So these images sound great, but how are they transferred from the server to the clients? That’s where network booting comes in. When you turn on your computer it looks in certain locations for a program to start running, the most common locations are the hard drive, a USB drive, a CD/DVD-Drive or the network, when it finds a program it will start to run it. You can tell the computer where to look first, so after the network image server is up and running you set the network boot priority to the highest level on the client and then (if things are set up correctly) the client will load the network boot software from the image server and you can capture or deploy an image.
Another cool thing about image servers, you can deploy an image to a more than one client at the same time - if you have 20 computers to set up, manually going through each one and installing windows, getting the settings right and then installing all the programs can take 2-3hrs for each computer, you are looking at 40+ hours of work. Using an image server, you first have to spend 2-3hrs getting one computer setup, take 20mins to capture it and then the rest will take about 20mins to deploy, so around 8-9hours. Using an image server with multicast, all you have to do is set up the image once (2-3 hrs), capture (about 20mins), and deploy simultaneously to all the other machines in about 20mins and you are all done in less than half a day (I haven’t played around with multicast image deployment yet, but think I might for the next batch of refurb computers I pick up). And if suddenly there are 40 computers, as long as you have the image all it takes is another round of deployments (~20mins).
Deploying an Image
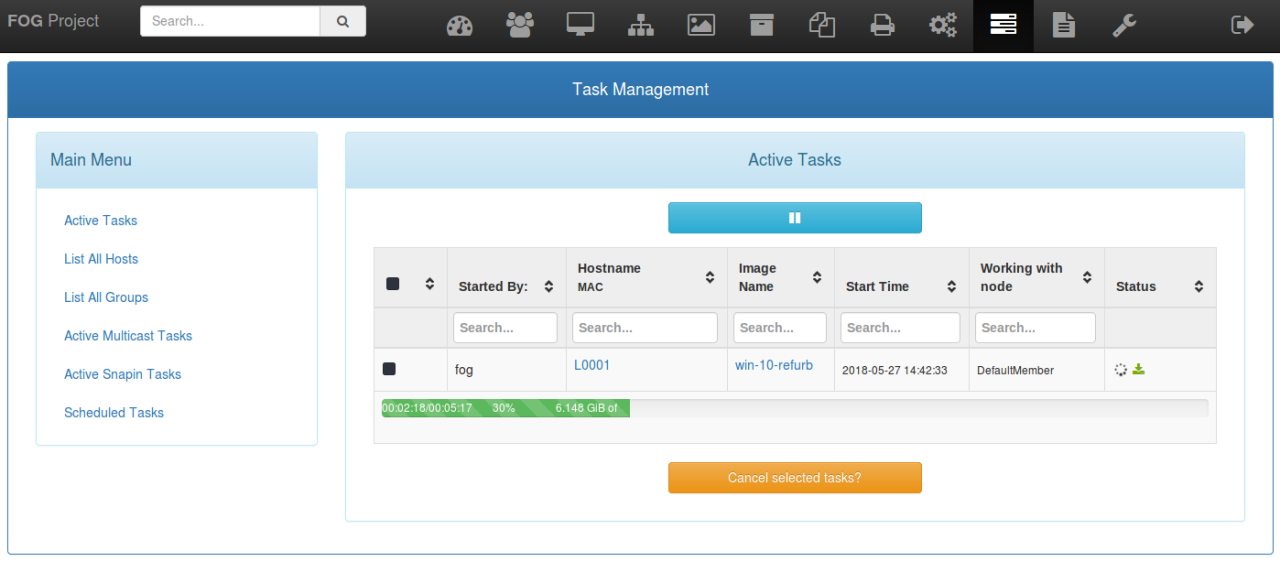
Here is an example where I actually deploy an image from the image server to a client. First I head over to the web interface of the image server to make sure it is up and running:
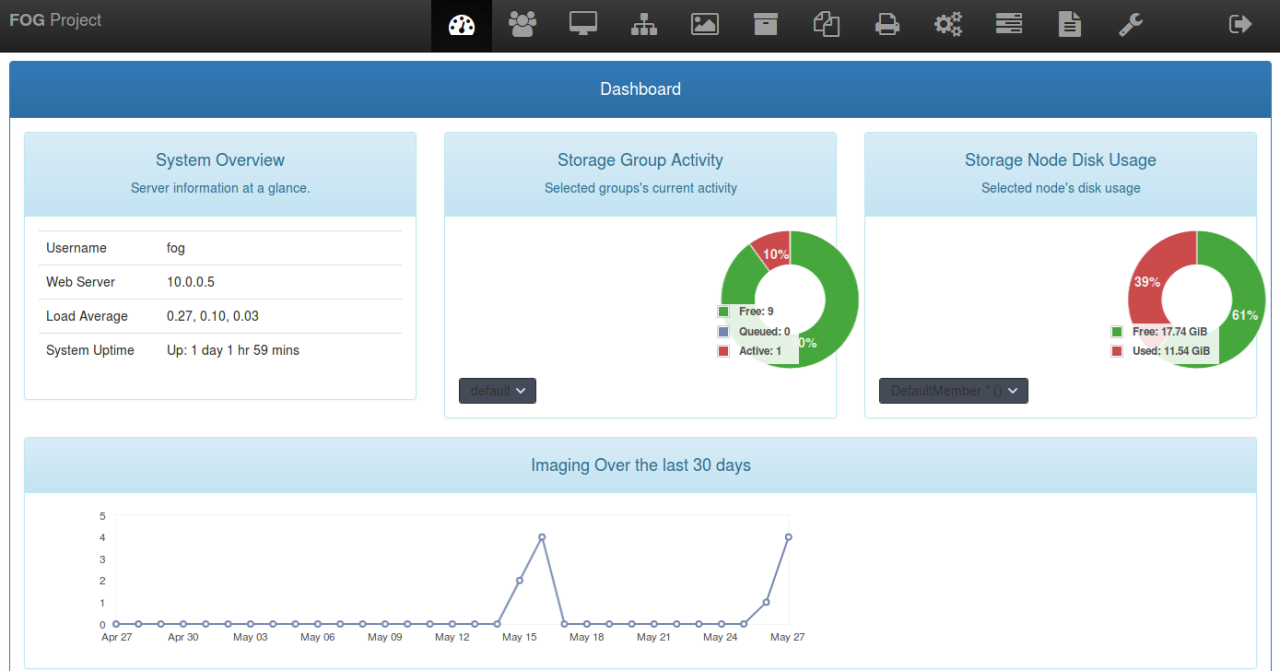
From the web interface you can view images, schedule a capture/deployment, and do a whole lot more.
Next, the first step on the client is set to network boot, and after you turn it on, it looks for the network boot server:
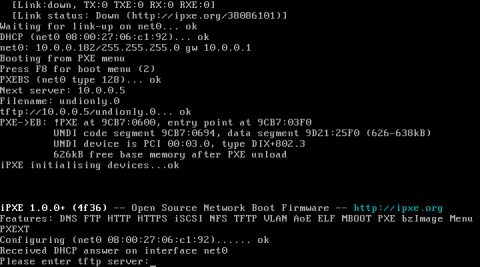
Some details you might see here are the client gets an IP address of 10.0.0.182, the FOG server is 10.0.0.5. Next up the client boots to the FOG project menu:

You can see I already registered this client (host) as L0001, and there are a number of options including just booting off the hard disk to deploying an image. After selecting deploy image you can choose which image to deploy:
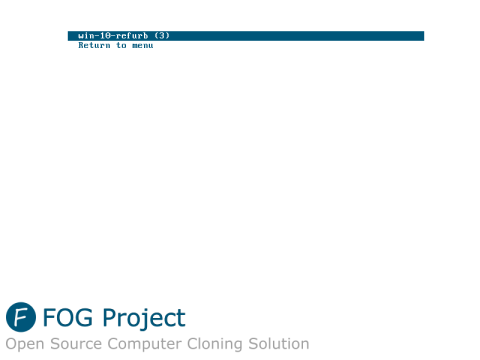
There’s only one choice right now because I deleted the other image captures I made. After selecting an image there will be some checks:
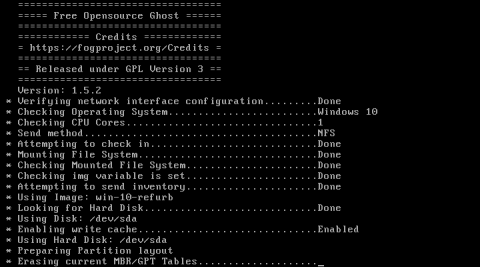
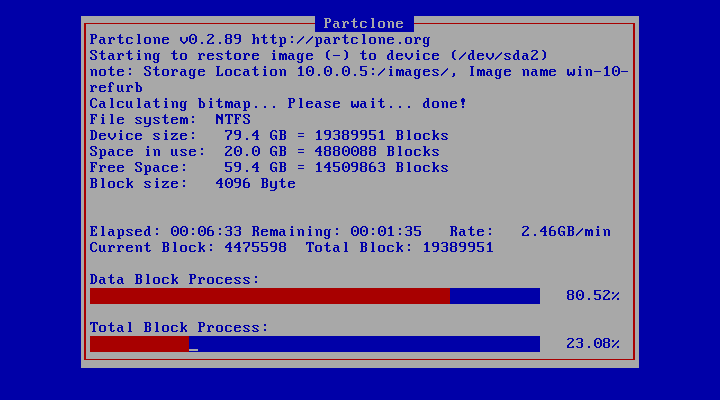
And then it will start copying the image:

The image here is of an 80GB disk, and only using 20GB of space. On the image server it is compressed and takes up about 6-7GB. I’ve deployed a few images and found the biggest bottleneck in the process to be the network, if I am deploying to a virtual machine on my laptop SSD over wifi it will take about 8-10mins and when deploying to a 10 year old computer over an ethernet wire it takes about 2-3mins. You can also see the progress from the web interface:
And it’s pretty real time:
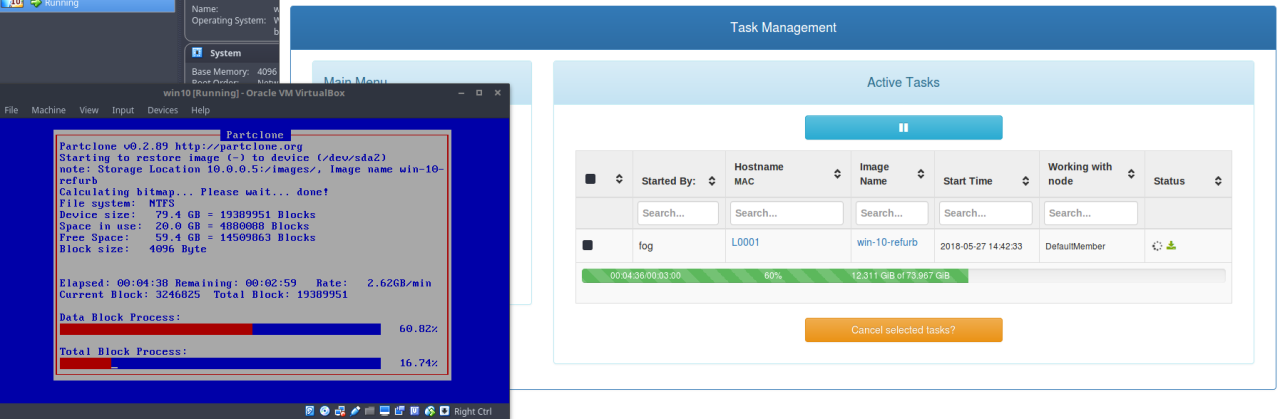
On the left is the virtual machine with the image deployment and on the right is the web interface. After the image is copied the client will restart and if you boot from the hard drive you just copied the image to it will start windows:
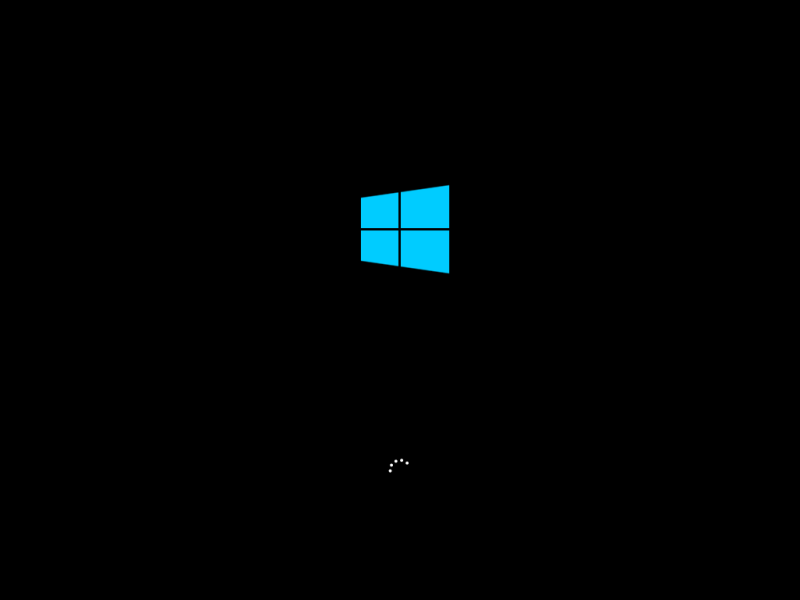
And will configure based on your devices:
Windows 10 is a massive improvement over earlier versions in image deployment. In previous versions sometimes deploying an image to a computer with a different motherboard or network adapter would cause failures, microsoft even has a way to generalize an image so you can create a non specific version, however I found using it more trouble than setting it up with Windows 10. So far an image taken from an old HP works on an old Dell and a virtual machine with no changes needed. Here is one of the things we need to install for refurbished computers, a EULA that displays when you first boot the computer:

After the user accepts it won’t show up anymore, but we also install a few programs like Firefox, Chrome, CCleaner and others to make it easier for the user to start using their computer. Oh and we do all the windows updates - which can take quite a while.
This whole deployment took roughly 15mins - which is pretty good comparing it to a manual install.
Real World Time Savings
So hopefully you can now see that even in my volunteer work, even if I only refurbish two or three computers a month saving about 2 hours each computer can really add up. Of course it took a few hours to set up the server, and it will take more time as I test things like multicast deployment, but it should save time in the long run. Unless it becomes something I continue to tweak and mess with.
As there is an XKCD for everything…
