Homemade bread is very simple and very delicious. I used to make it much more often, but found I ended up eating all of it within a day or two. When it’s fresh and still warm from the oven – hard to resist eating like 3 sandwiches right then. And of course your next few meals will also be sandwiches, or toast, or both, until you run out of bread. I have found if you freeze it pretty much right away, it can last a little longer.
There are probably a million ways to make bread and so many different things you can do with it. But today I’m going with basic white sandwich bread. The recipes are fairly straight forward and the most challenging parts are scaling the ingredients correctly (a scale helps so much with this – a cup of packed flour is much different than a cup of loose flour) and kneading (a stand mixer takes care of this for me).
The one other thing is time, it has to rise for a couple hours – I wanted to make more bread during the week but I just don’t really have the time with my new job. I settled for early weekend mornings – that way you still have your whole day and it will make your apartment smell like a bakery all day (it helps to have a small apartment).
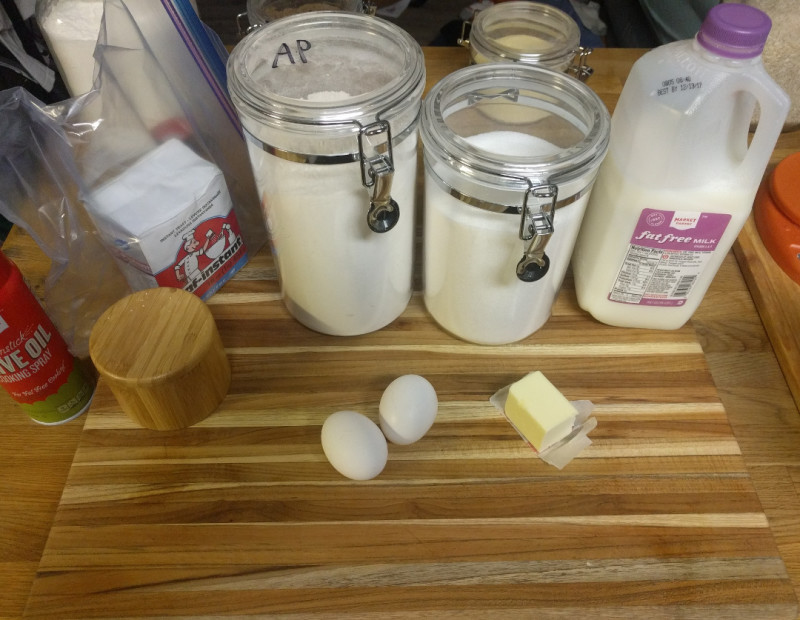
Today I went with https://cooking.nytimes.com/recipes/1017369-excellent-white-bread) from the NY Times, I’ve made probably half a dozen different white bread recipes and they all taste amazing. Basic ingredients they all shared were flour, yeast, salt, something sweet like sugar or honey, and something wet like water or milk. The NYT recipe also has eggs so maybe it will be a little richer?
So here are the ingredients:
The only thing I miss a microwave for is melting butter. The milk also needed to be warm so I put them on the stove, but had to keep an eye out so it didn’t scorch, they were on low heat for maybe a minute.

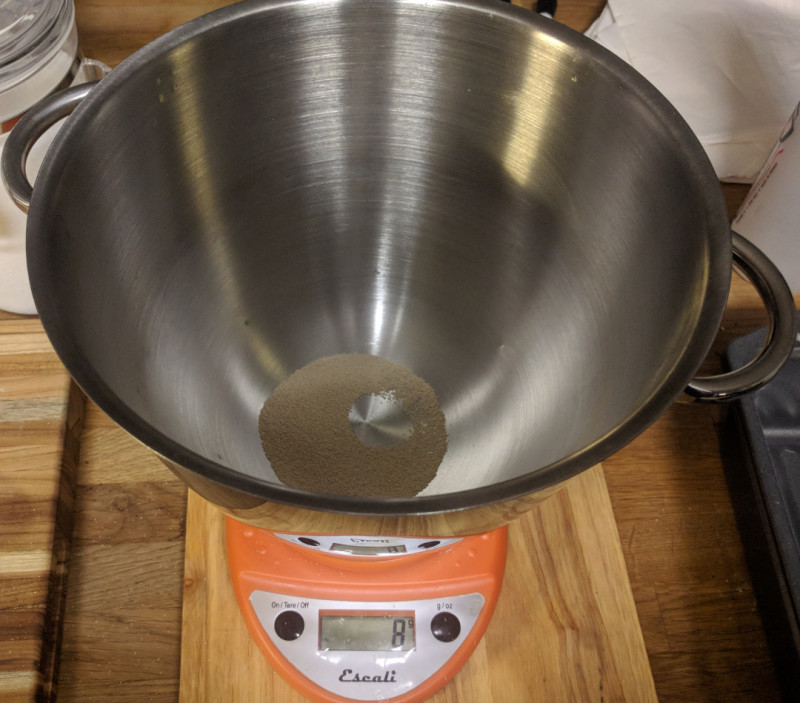
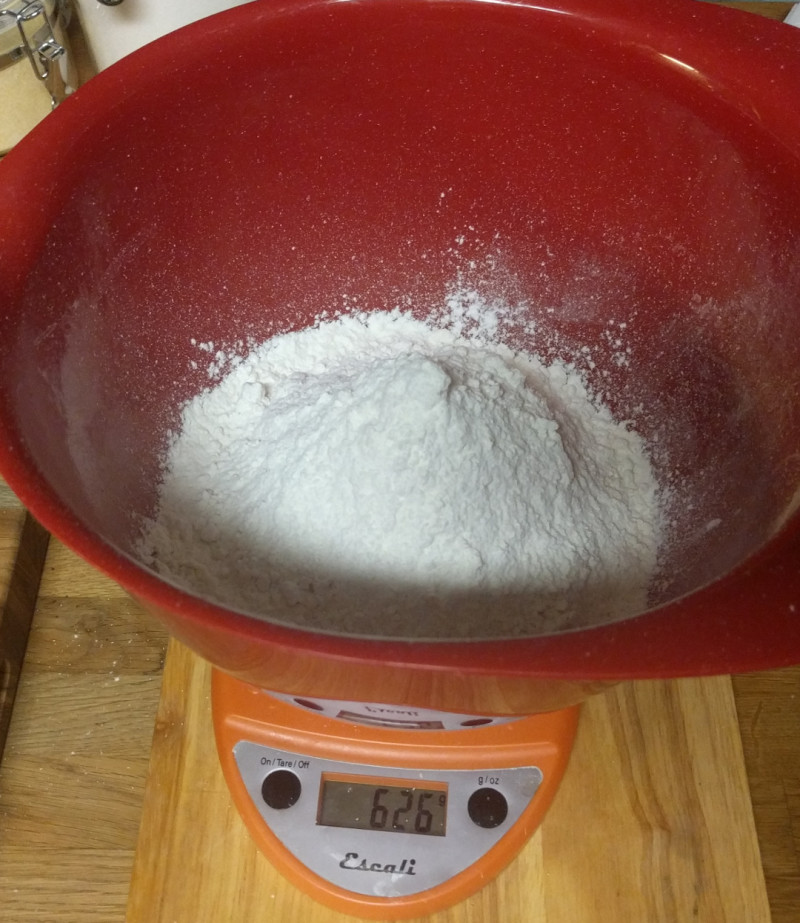
A scale helps with measuring things.
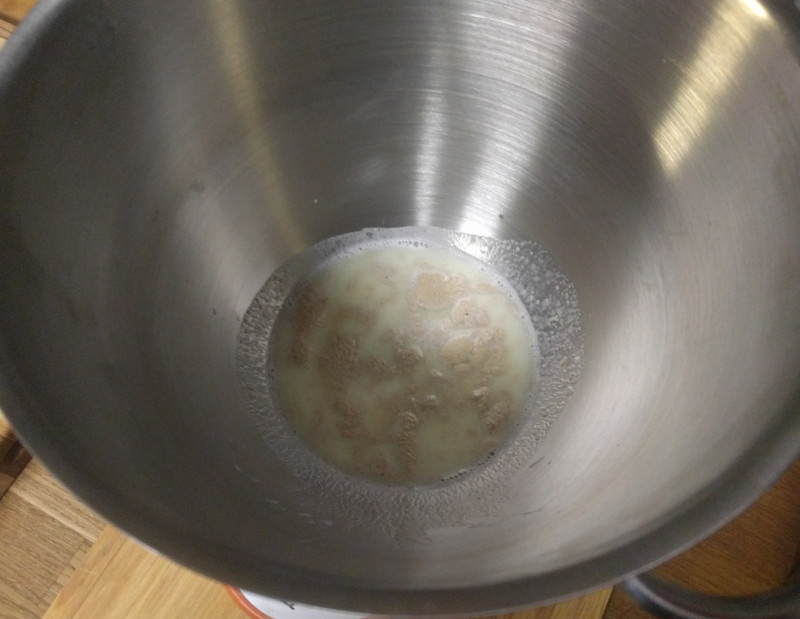
The recipes I’ve tried in the past called for dissolving the yeast in water, this time it was milk, which took a bit more to dissolve it.
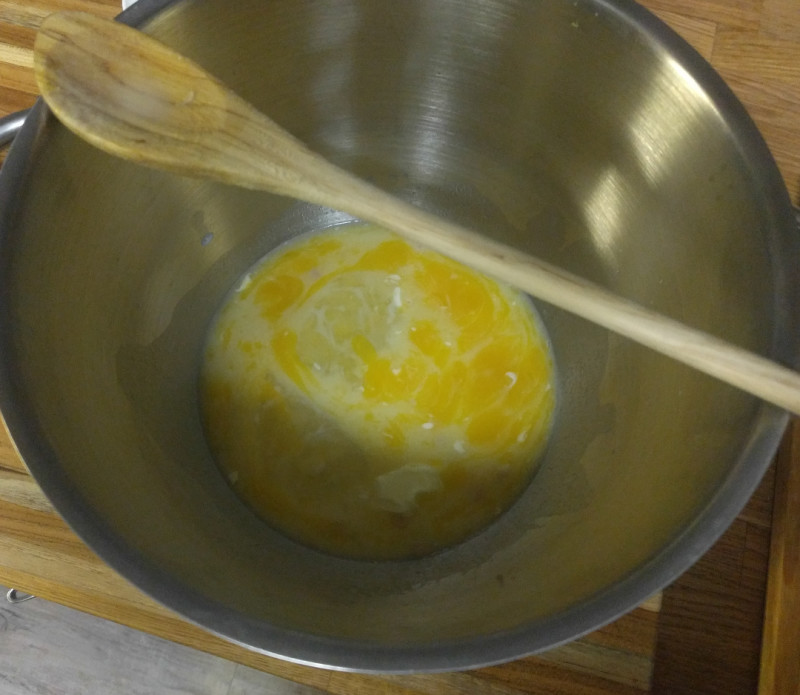
Adding all the other ingredients except the flour and it almost looks like it could become an omelet or quiche or some egg based dish.
I think the scale is most important for flour. The other major ingredients don’t really demonstrate the same compression that flour does.
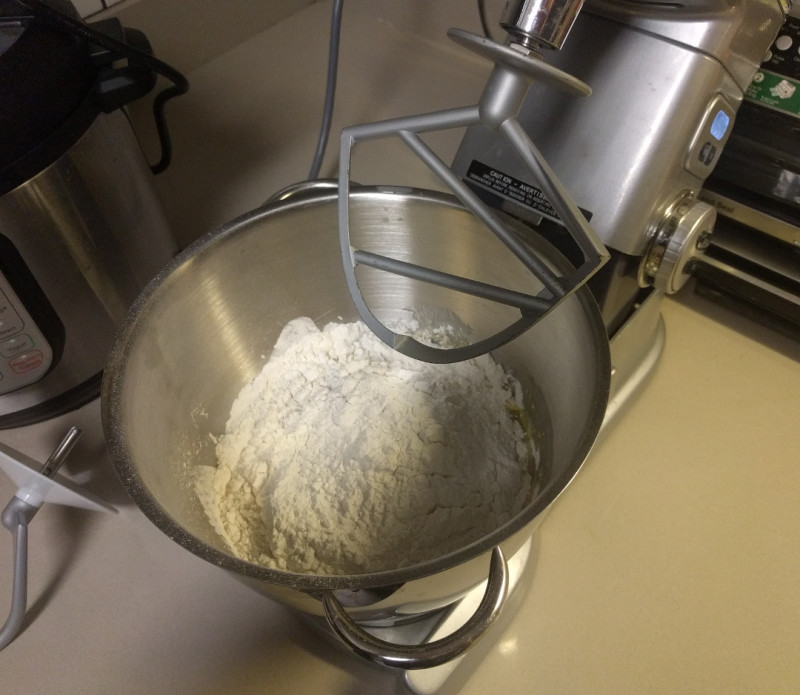
Into the stand mixer, the first step said combine with paddle attachment.
Then it kneads with the dough hook for 10mins – the first time I made bread I had to do this manually and it was August in VA and 95F and humid and I didn’t have AC in the kitchen. It was a workout, I was sweating by the end – electricity makes things so much easier.
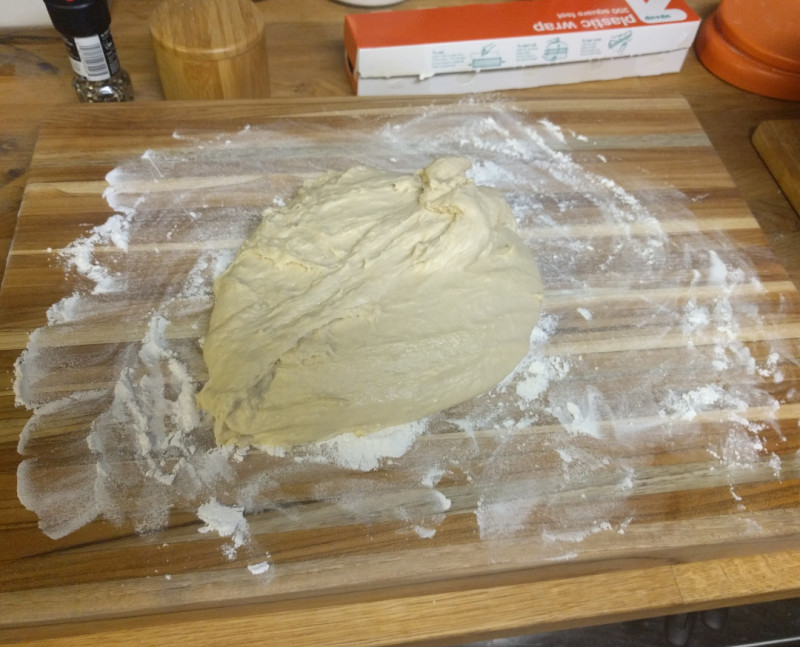
Then I like to hand knead it a few times just to get a feel for the dough, making sure everything it touches is floured.
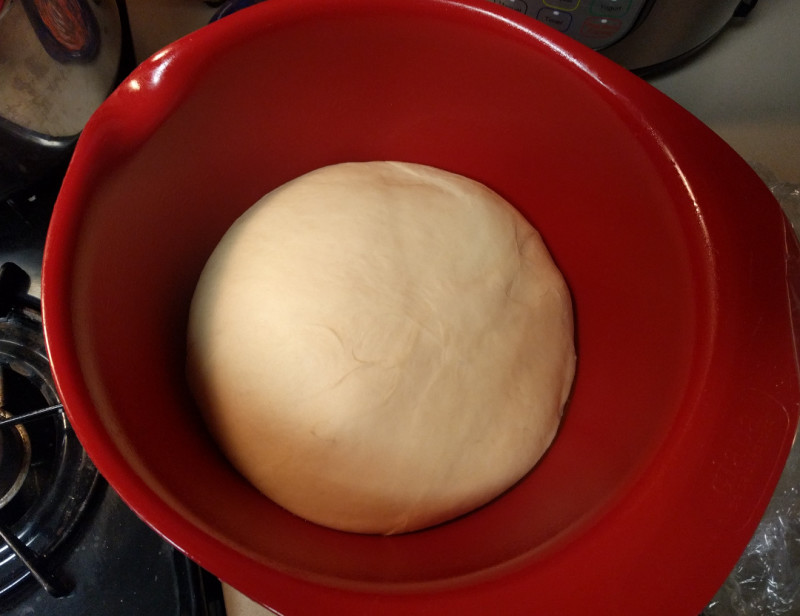
Next we start the first rise, the recipe calls for 1.5-2hrs until doubled in volume. Since I’m at about a mile high in elevation dough rises faster, so I went with about an hour.

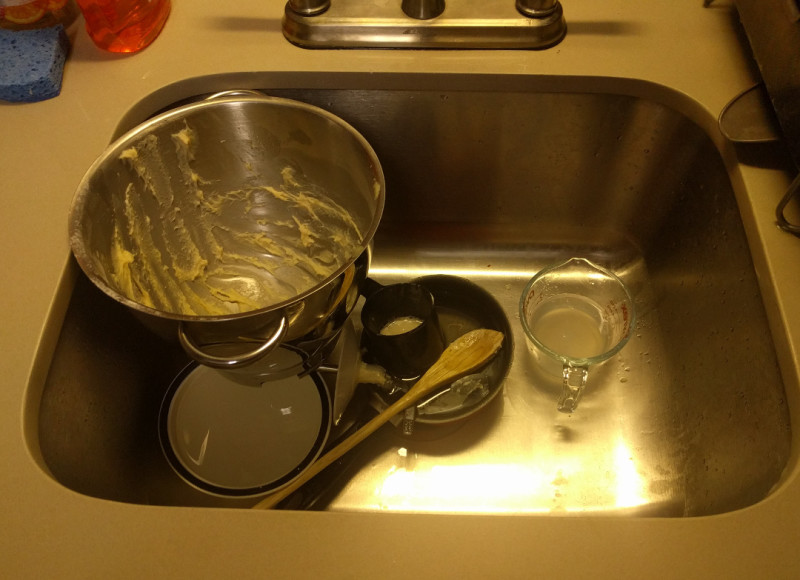
While it’s rising you can do the dishes so you don’t have much cleanup at the end. Or you can be like me and catch up on the last few days of dishes that were in the sink.

And then refill the sink with the dishes that won’t fit on the drying rack…
And then admire the sunrise. Denver doesn’t often have clouds, but when we do they make for spectacular sunrises/sunsets. During the day everything is dull and grey, but it’s worth it for the amazing sunrise/sunsets.

Alright, here we are about an hour in, looks about double in volume to me.
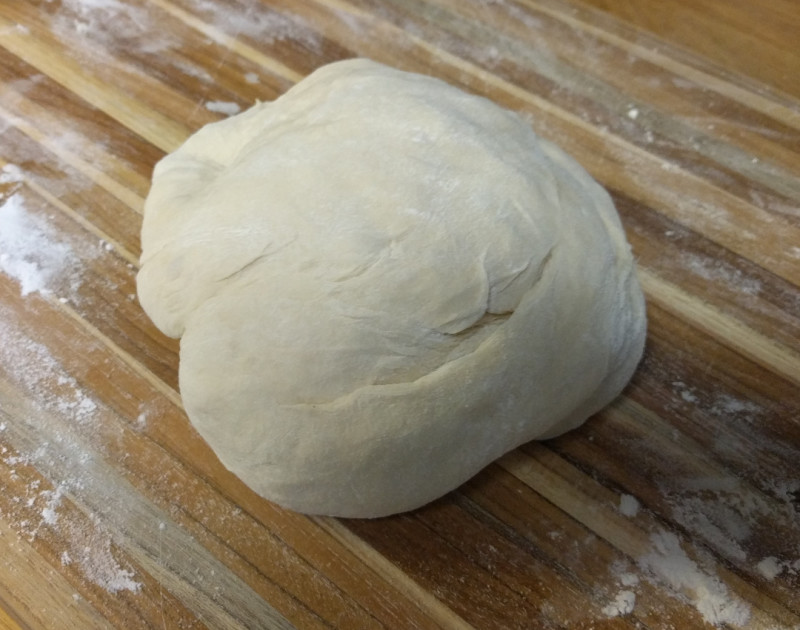
I then turned it out and kneaded it by hand for a few minutes
The recipe called for putting it back in the bowl to rise for another 30mins, but I misread and split into halves and then into the pans to rise.
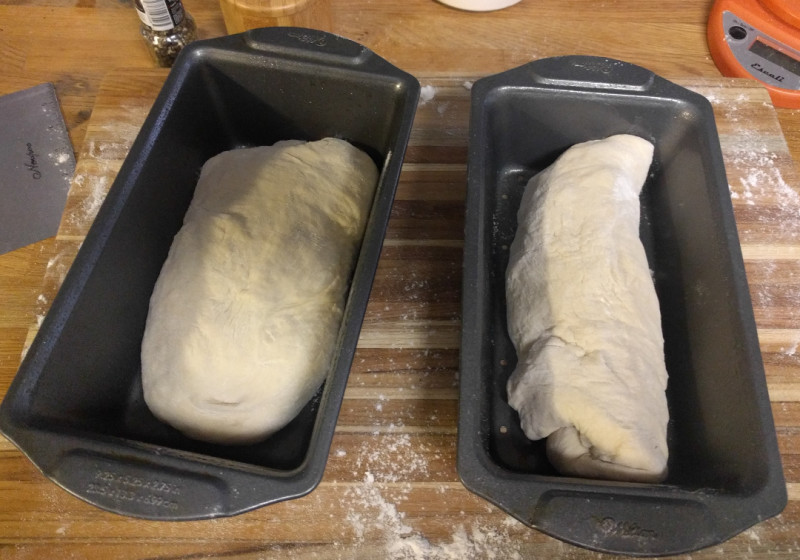
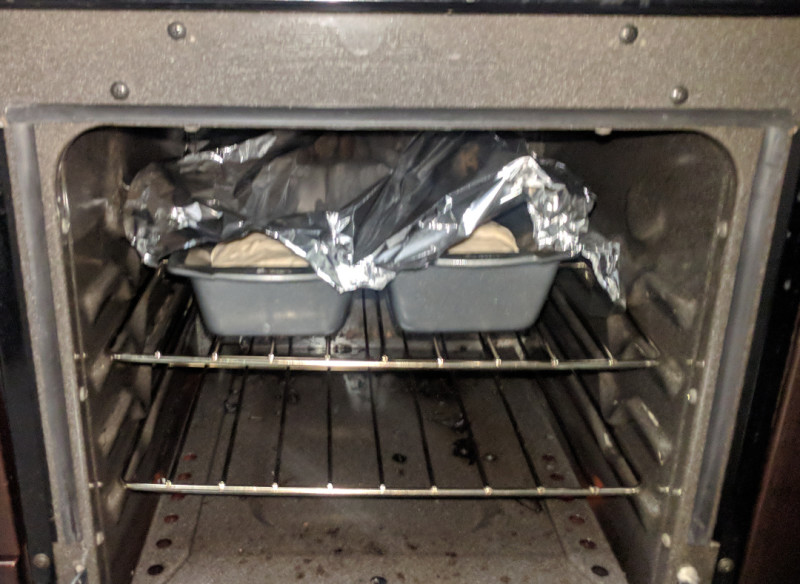
The rise looks ok to me.

Time to start baking, the first 10mins at 400F and I brushed with water and tented to firm up the crust (maybe)
After 10mins drop the temp to 350F and another 20-30mins they should be done. Cool on wire racks.
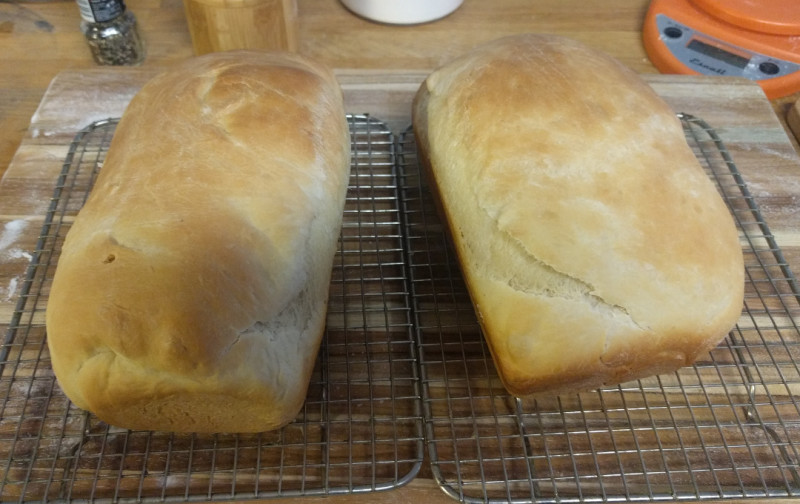
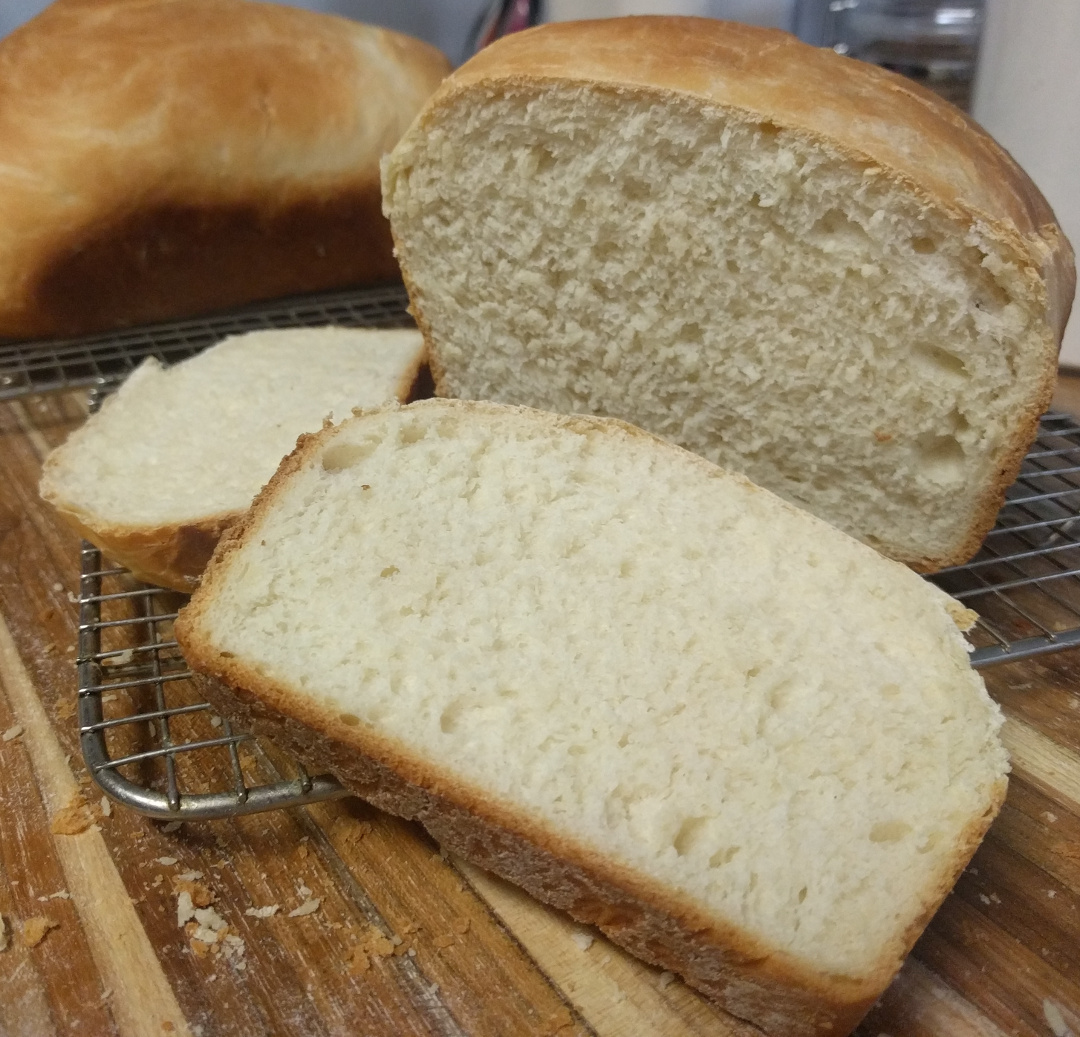
The shape is not as neat as store bought, but it tastes much better.
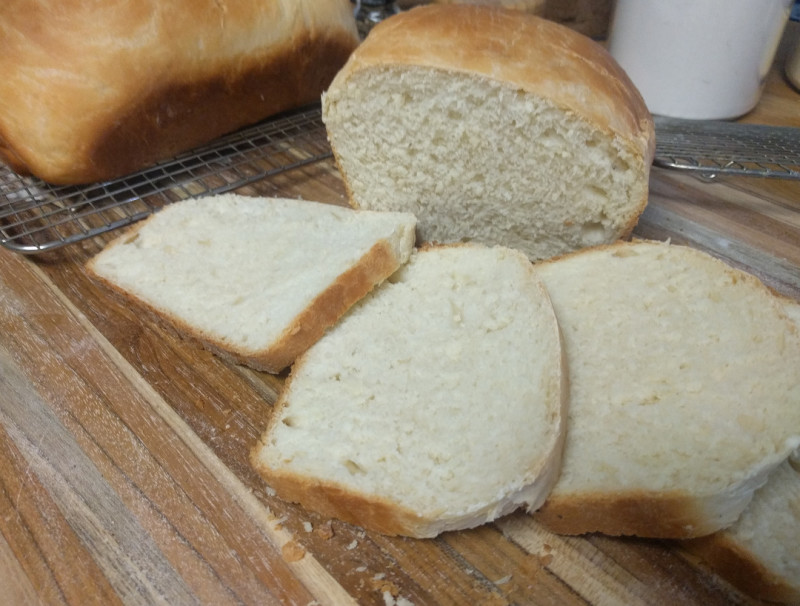
I first had a slice by itself, then an egg salad sandwich, then a piece of toast with butter, then another slice by itself….

Then I finally managed to slice and freeze the rest. It should last a couple days.
Recipe:
-7g yeast
-1.5cups milk
-1/3cup sugar (I used 1/4 because comments on the recipe called it too sweet)
-1Tbsp salt
-3Tbsp butter
-2 eggs
-625-750g all purpose flour
Calories: 3508
Weight: 1287g
- In a large electric mixer bowl, dissolve yeast in 1/4 cup warm milk. Add the remaining warm milk, the sugar, the salt, the butter and the eggs. Add 5 cups flour and mix with paddle attachment until smooth, about 2 minutes. Switch to hook attachment and knead on low speed, adding more flour if necessary until dough is stiff and slightly tacky, about 10 minutes.
- Grease a large bowl with butter and turn dough out into the bowl. Flip over dough so greased side is up, cover with plastic wrap or a kitchen towel and set in a warm, draft-free spot until doubled in size, about 1 1/2 to 2 hours. Generously butter two 9-x-5 loaf pans.
- When dough has doubled in size, turn it out onto floured surface and knead for 3 minutes. Return to greased bowl, cover and let rise again for 30 minutes.
- Press down dough with your hand to expel the air. Divide dough in half and place each half into a loaf pan. Brush tops of loaves with remaining melted butter.
- Cover and let rise until dough is just above the tops of pans, 45 minutes to 1 hour.
- Heat oven to 400 degrees. Bake bread for 10 minutes, then reduce heat to 350 degrees and bake for an additional 20 to 30 minutes, or until loaves sound hollow when tapped, the tops are brown and the internal temperatures are 200 degrees. Remove loaves from pans and let cool on wire racks.
Notes: While still very good and miles ahead of anything store bought and amazing smelling, I like some of the other recipes I’ve tried in the past better.