Hamburgers are great but what can really knock them out of the park is a home made burger bun. Or you can use them for sandwiches, or a snack all by themselves. They aren’t even that hard to make, and a whole lot easier with a stand mixer.

Most dough begins with flour, salt, water and yeast. Sometimes you add butter or olive oil or sugar and the ratios are different based on what you want to accomplish, but there is a method to it all and while I don’t know what the method is, I know where to find information posted by people who do know. For this recipe I used the http://www.kingarthurflour.com/) website. It’s great and has many many recipes and even tips on each one and a hotline you can call if your bread doesn’t work out quite right. I don’t always buy King Arthur Flour but with all else equal I’ll lean to them because of their excellent website.
This recipe is called http://www.kingarthurflour.com/recipes/beautiful-burger-buns-recipe) and they do look beautiful on the website. Here they don’t look so pretty, but the taste more than makes up for it.
For baking (most cooking actually) one of the cheapest yet most effective upgrades you can make is using a scale to weigh your ingredients.
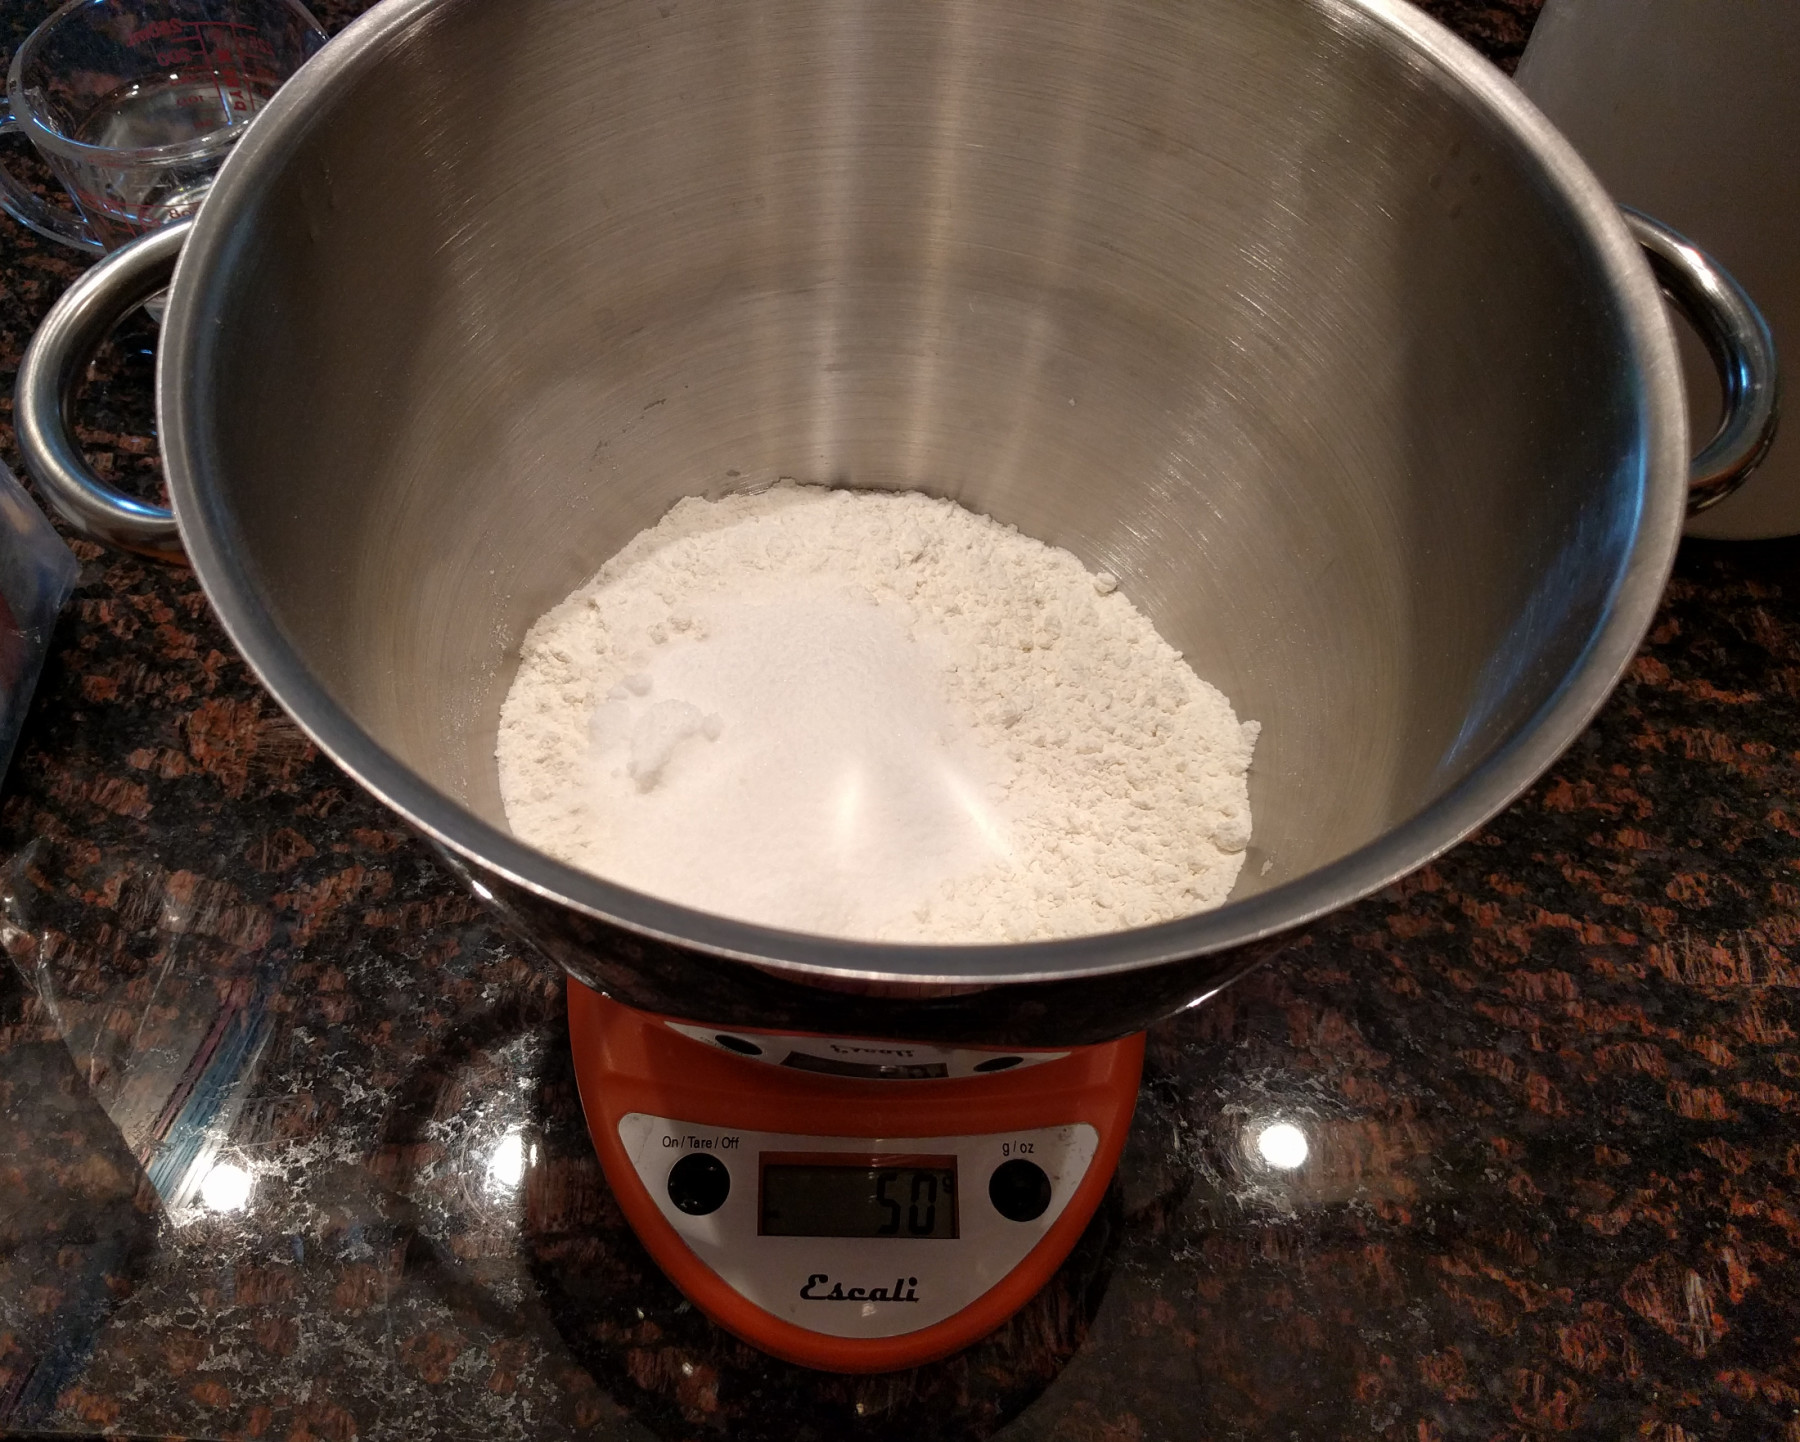
Flour can be especially tricky because 1 cup packed and 1 cup not packed are pretty different, and when a recipe calls for 2 or 3 cups that starts to mess with the ratios a bit too much for consistency. But 100g of flour will always be 100g of flour, packed or not. Much easier.
A money saver if you plan to do alot of baking is buying yeast in bulk.

This is a 1lb package of yeast and I think it cost $8 with shipping, compare that to the packets in the store which are sold in packs of 3 with each packet containing 1/4 oz and cost about $2 or so – which adds up to roughly $42 per pound. I’ll stick with the 1lb package, and to keep it fresh I just place it in a freezer bag in the fridge. Anyway, I like to mix all the dry ingredients first:

Then add the wet stuff (which is much harder to measure by weight and volume might be easier). A stand mixer really helps as well because all that kneading is done automatically.
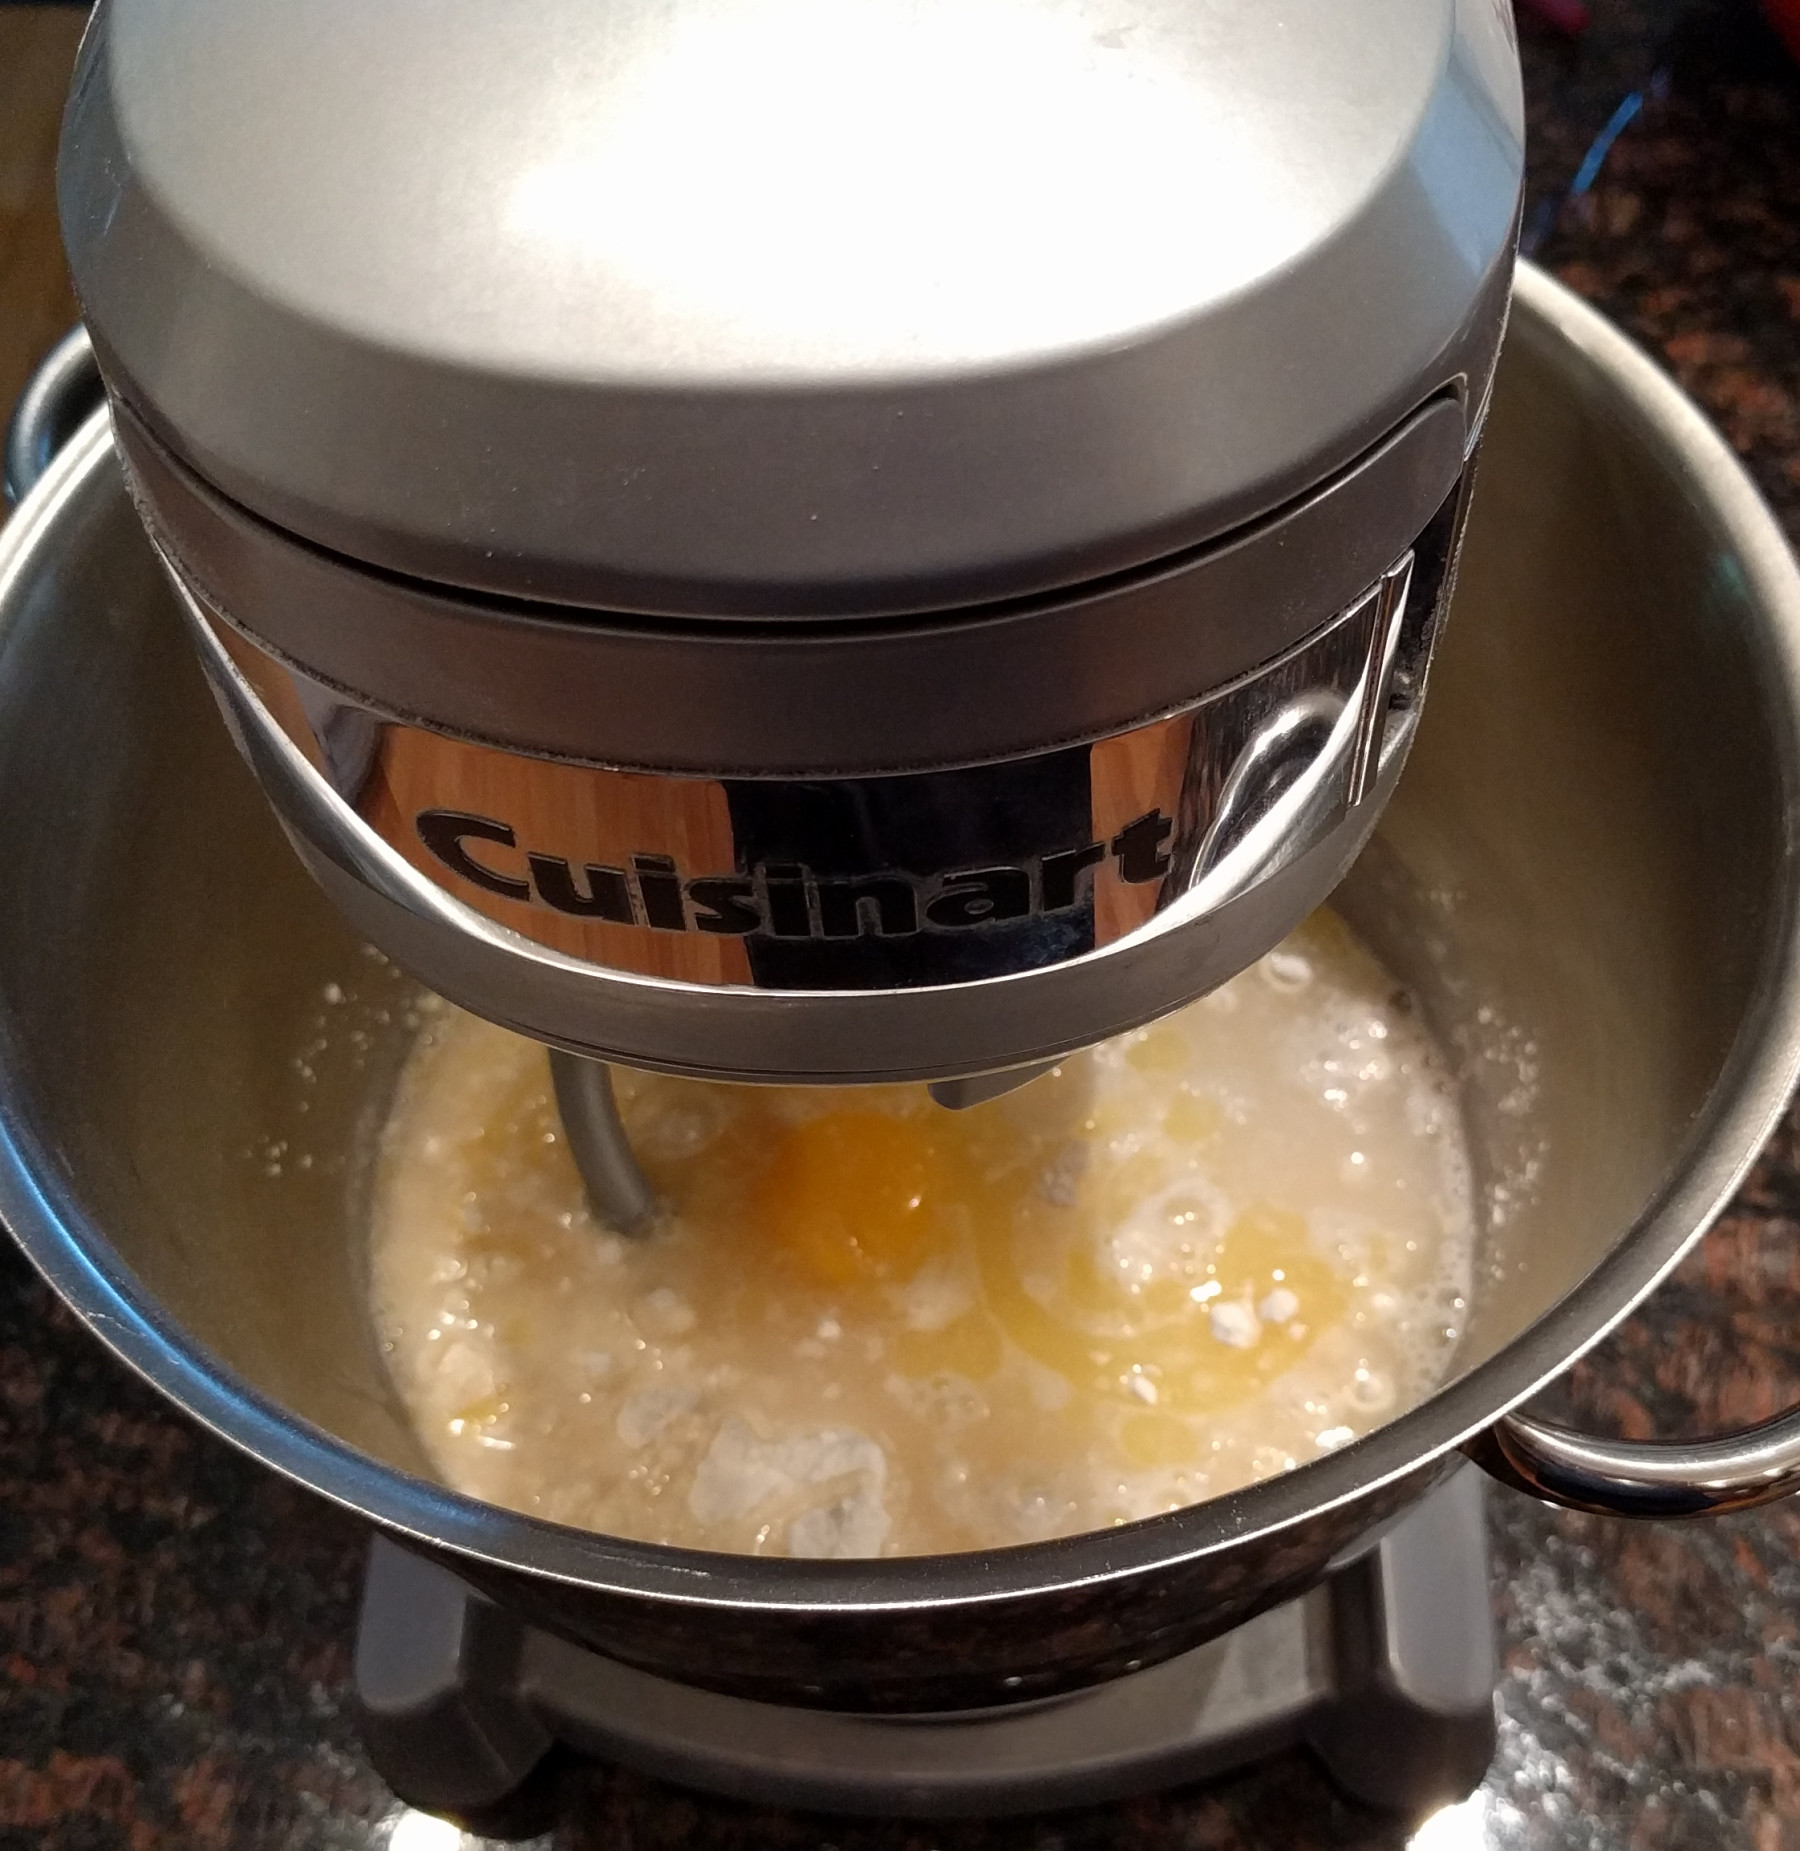
Just start off slowly and wait for the mixture to come together:
Gradually increase the speed and let it knead for a few minutes:
Next is the rise, which takes the longest time and why you see recipes with dough that sometimes have times in the 10hr+ range. Most of that is just letting the dough rise. Luckily for these buns the first rise is only 2 hours. I like to spray the inside of the bowl with non-stick spray, otherwise the dough can be a nightmare to get out.
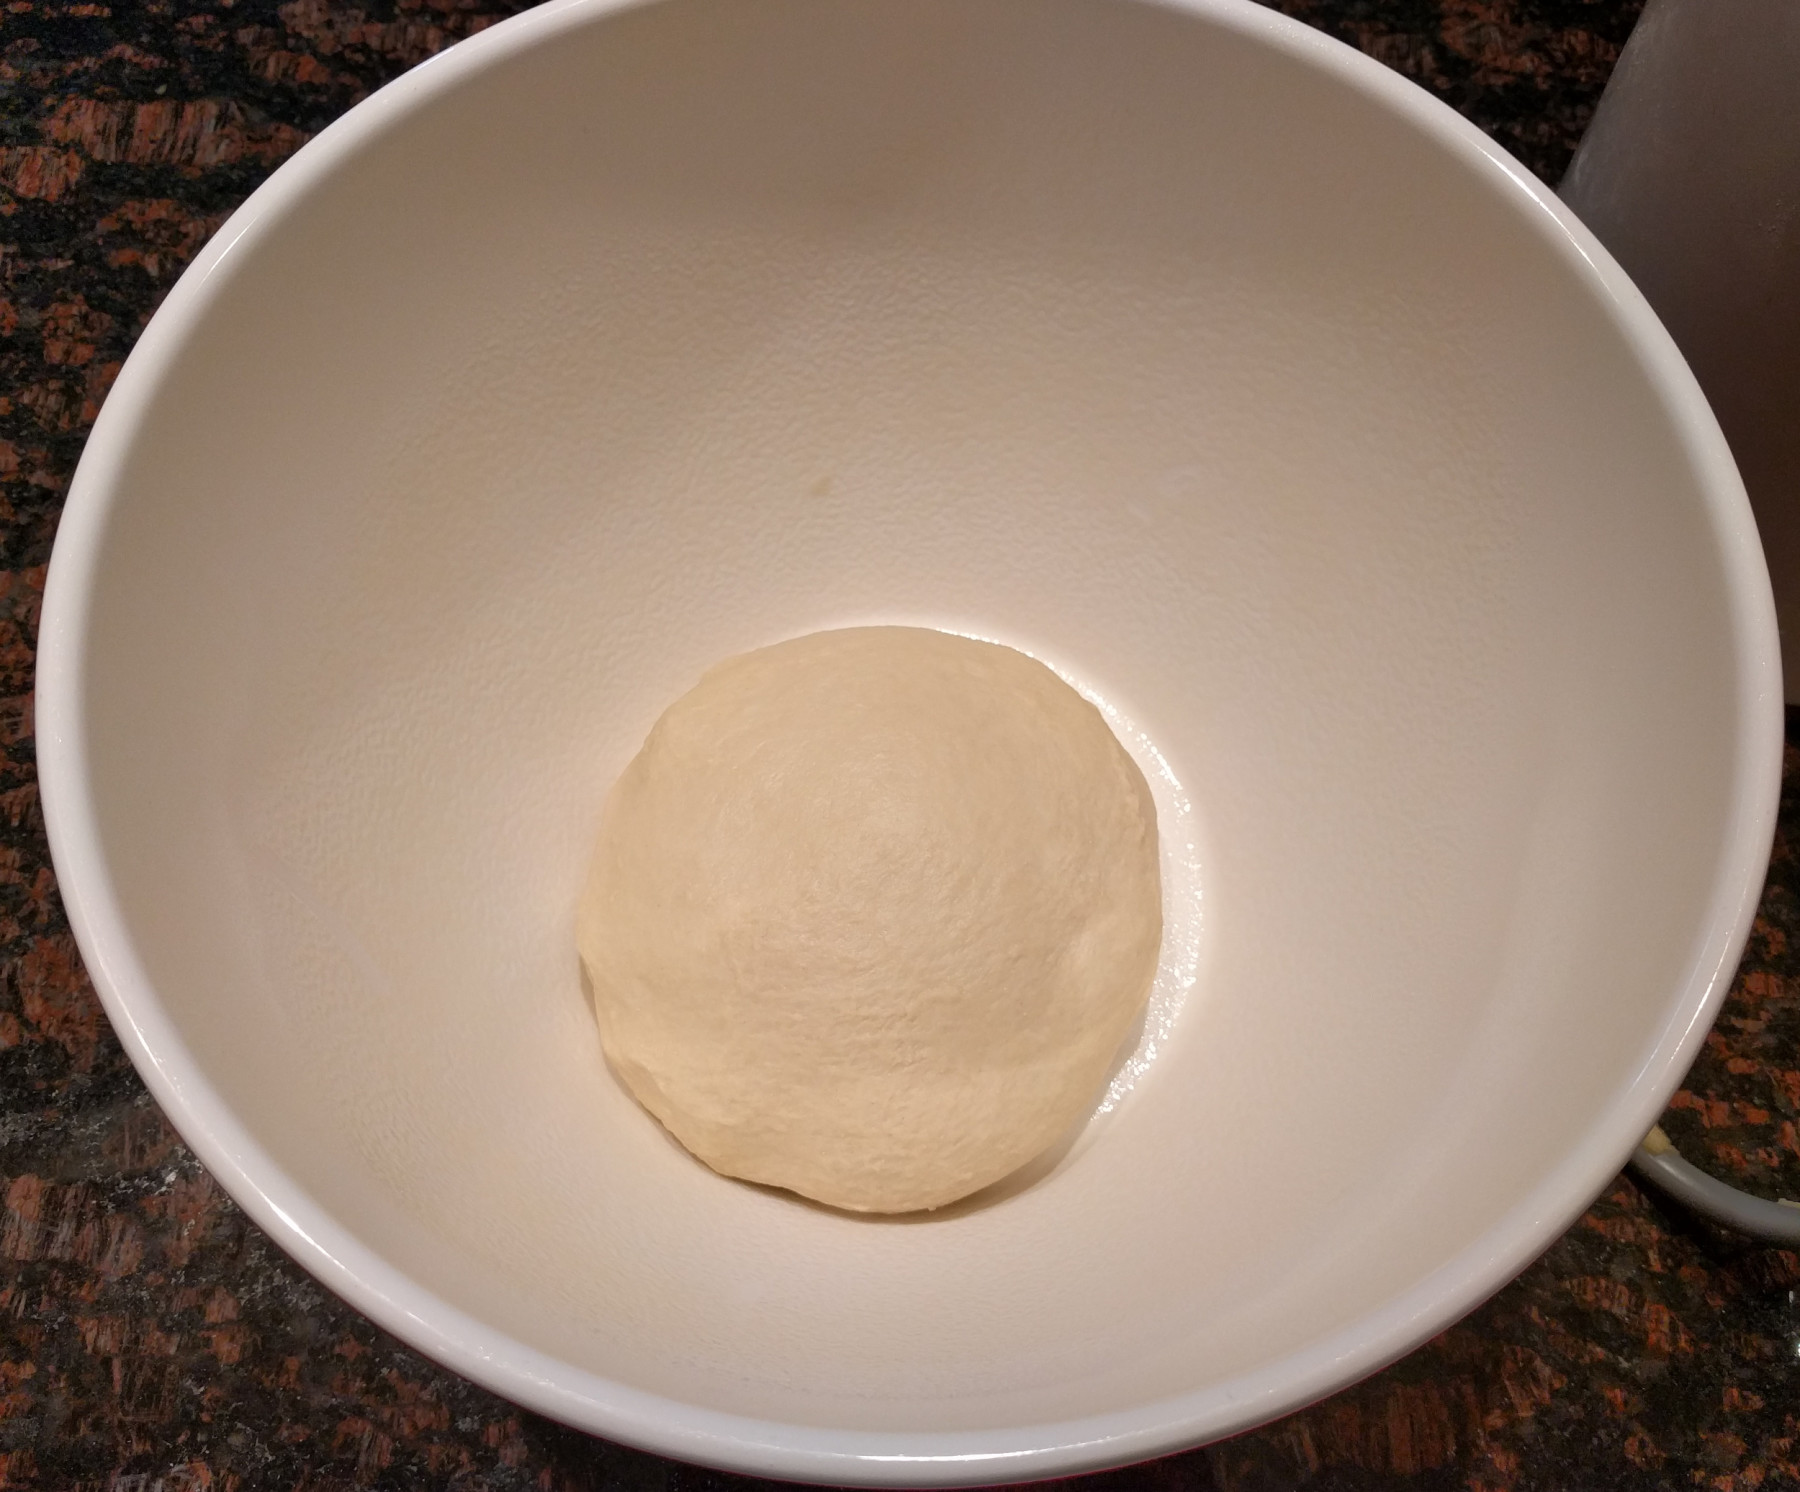
The above image is right after the stand mixer.

This next image is about an hour later, you can see it rose a bit and also the non stick spray on the sides.

and here we are about 2 hours after mixing the dough together. If your dough isn’t noticeably bigger by this point something is wrong. After the rise turn the dough out onto a well floured surface with well floured hands.
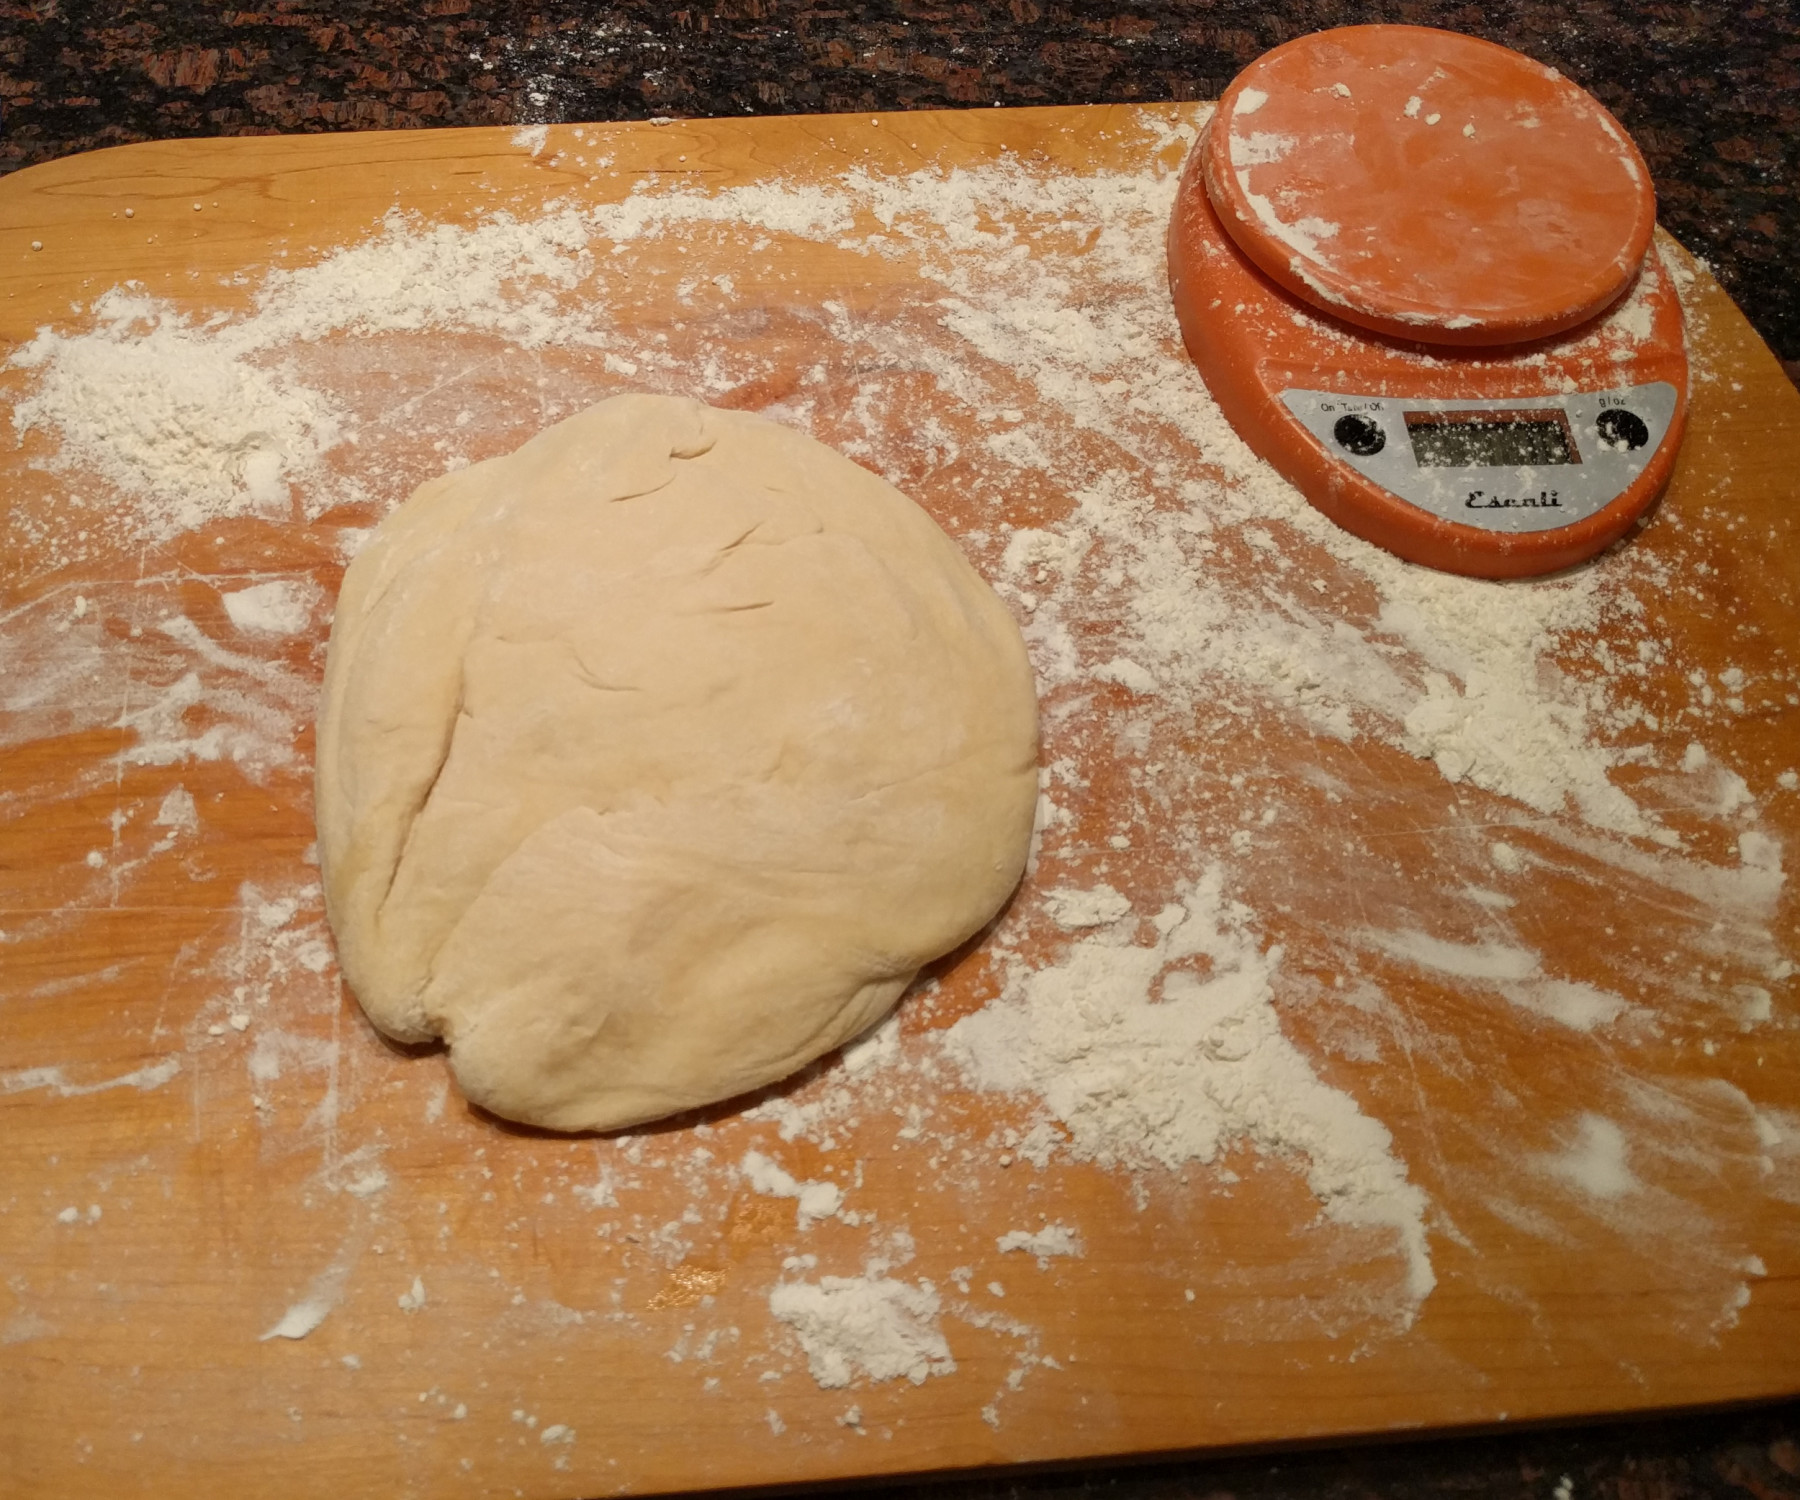
Now you divide the dough into however many buns you want to make. The recipe calls for 8 but those ended up being too big unless you like massive 1/2lb burgers (which are great). I settled on 12 buns. I use the scale here (well floured) to get mostly even weights because eyeballing 1 of 12 can be tricky.

I still haven’t mastered shaping them yet, but it’s ok because the next step is to place them on parchment paper on a baking sheet and let them rise for about an hour, and this step gets rid of some imperfections and baking will also help.

Be sure to cover them with plastic wrap (I also spray them so the plastic wrap doesn’t stick to them) so the dough doesn’t dry out.

Now just wait for them to rise again.

This next step is extremely important: REMOVE THE PLASTIC WRAP. One time I made buns and forgot to remove the wrap and baked them – the plastic melted into the buns and they had to be trashed, even though they looked so amazing and the house smelled equally awesome. Doh!

A sad sight indeed. So remember to remove the plastic wrap.

Are you sure it’s removed? Ok, then throw them in the oven.

And voilà! Amazing buns. At this point you can brush them with melted butter for an extra shine and flavor
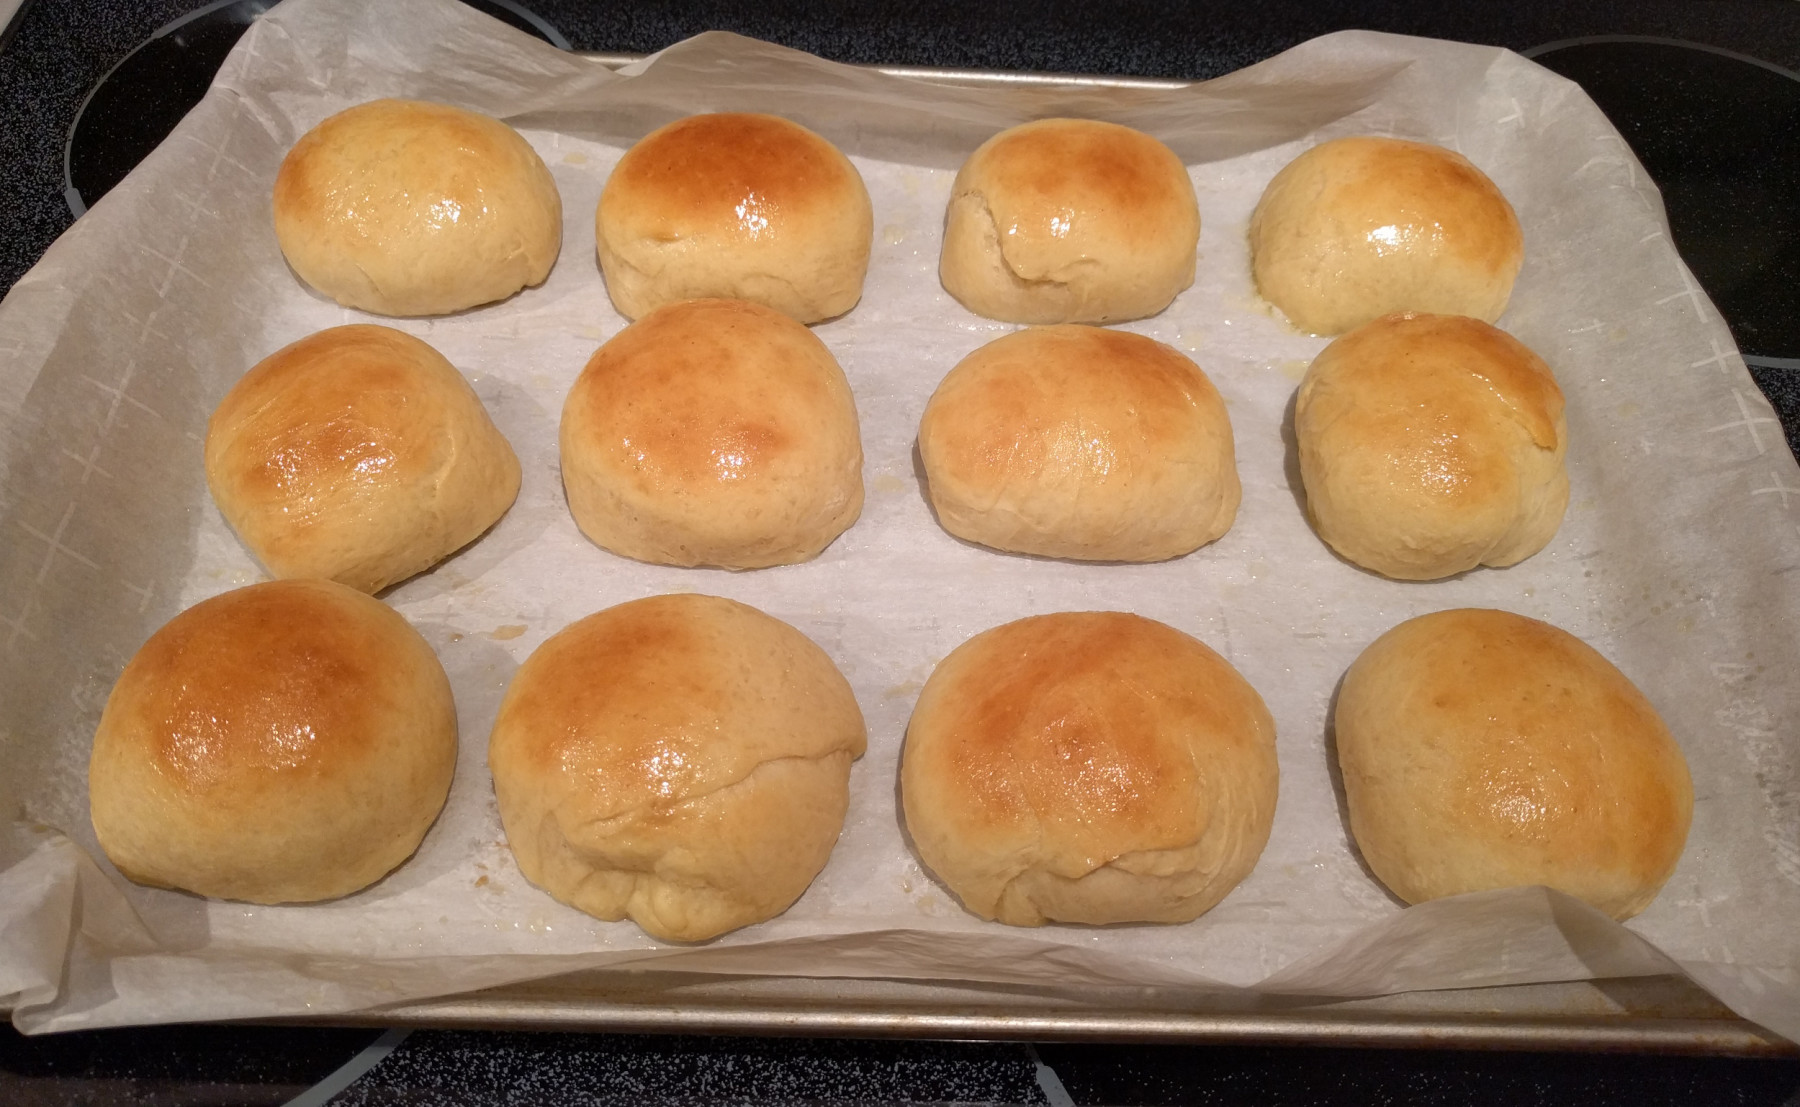
Then let them cool on a wire rack.

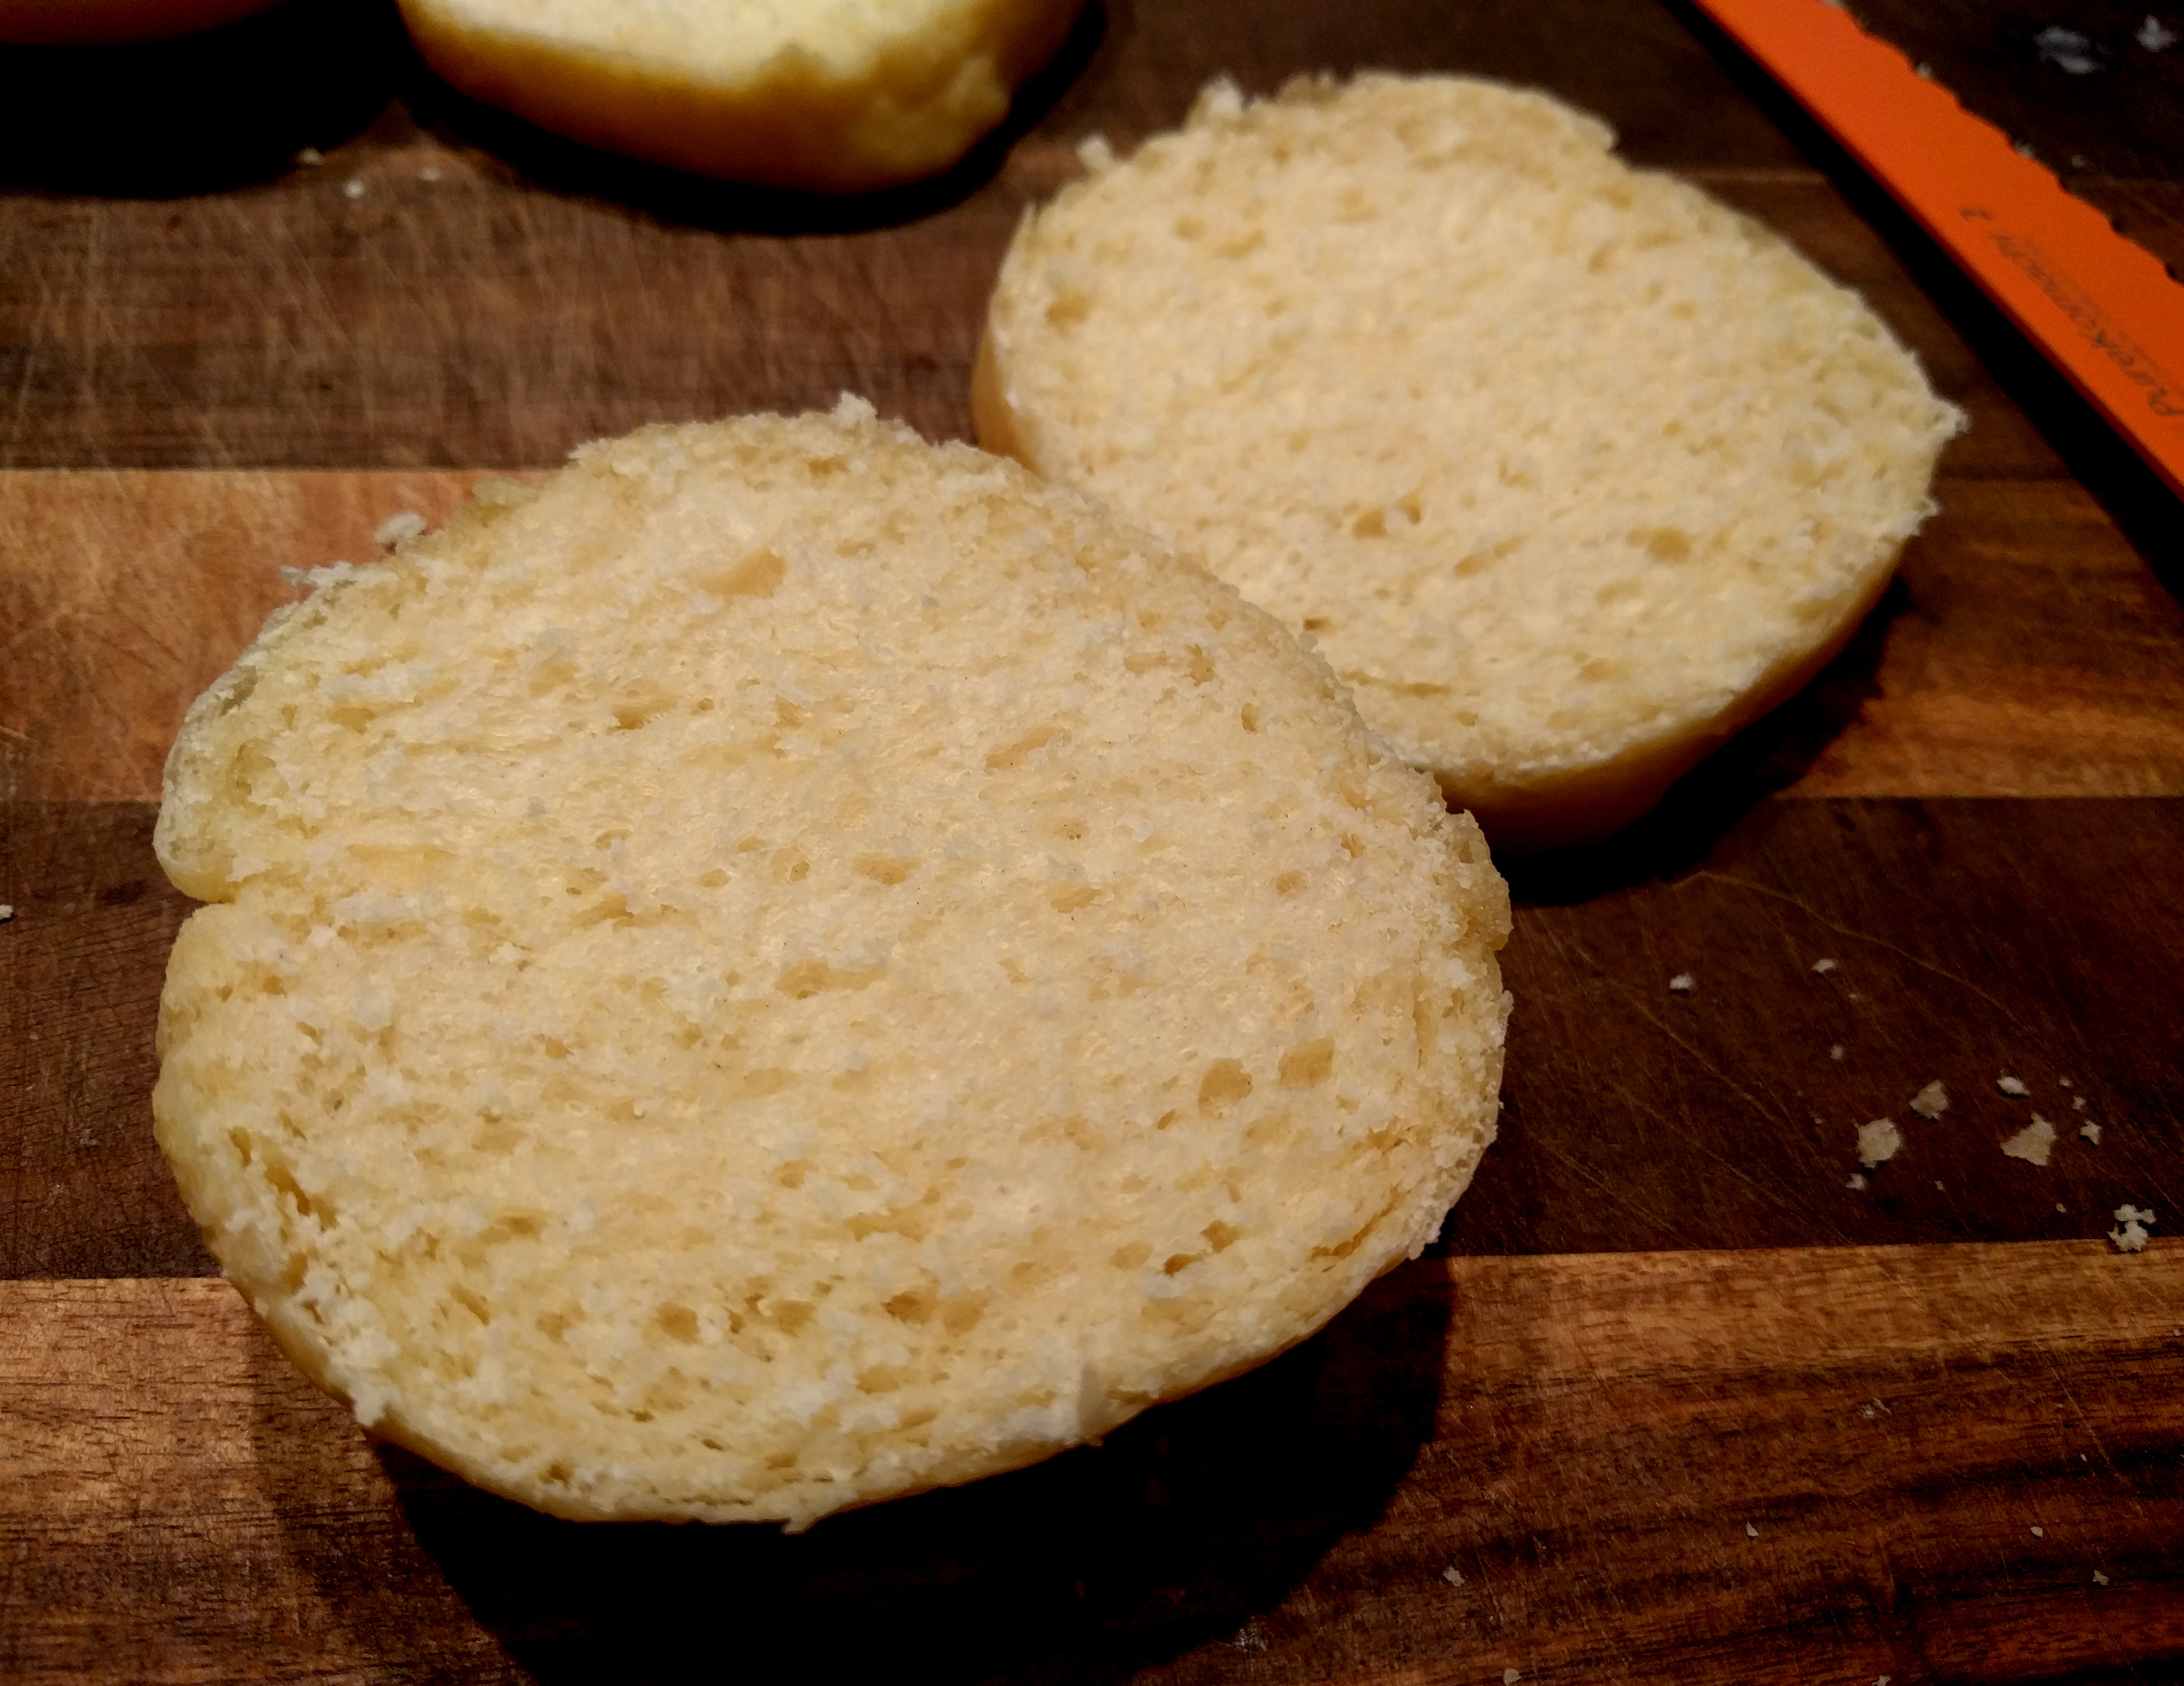
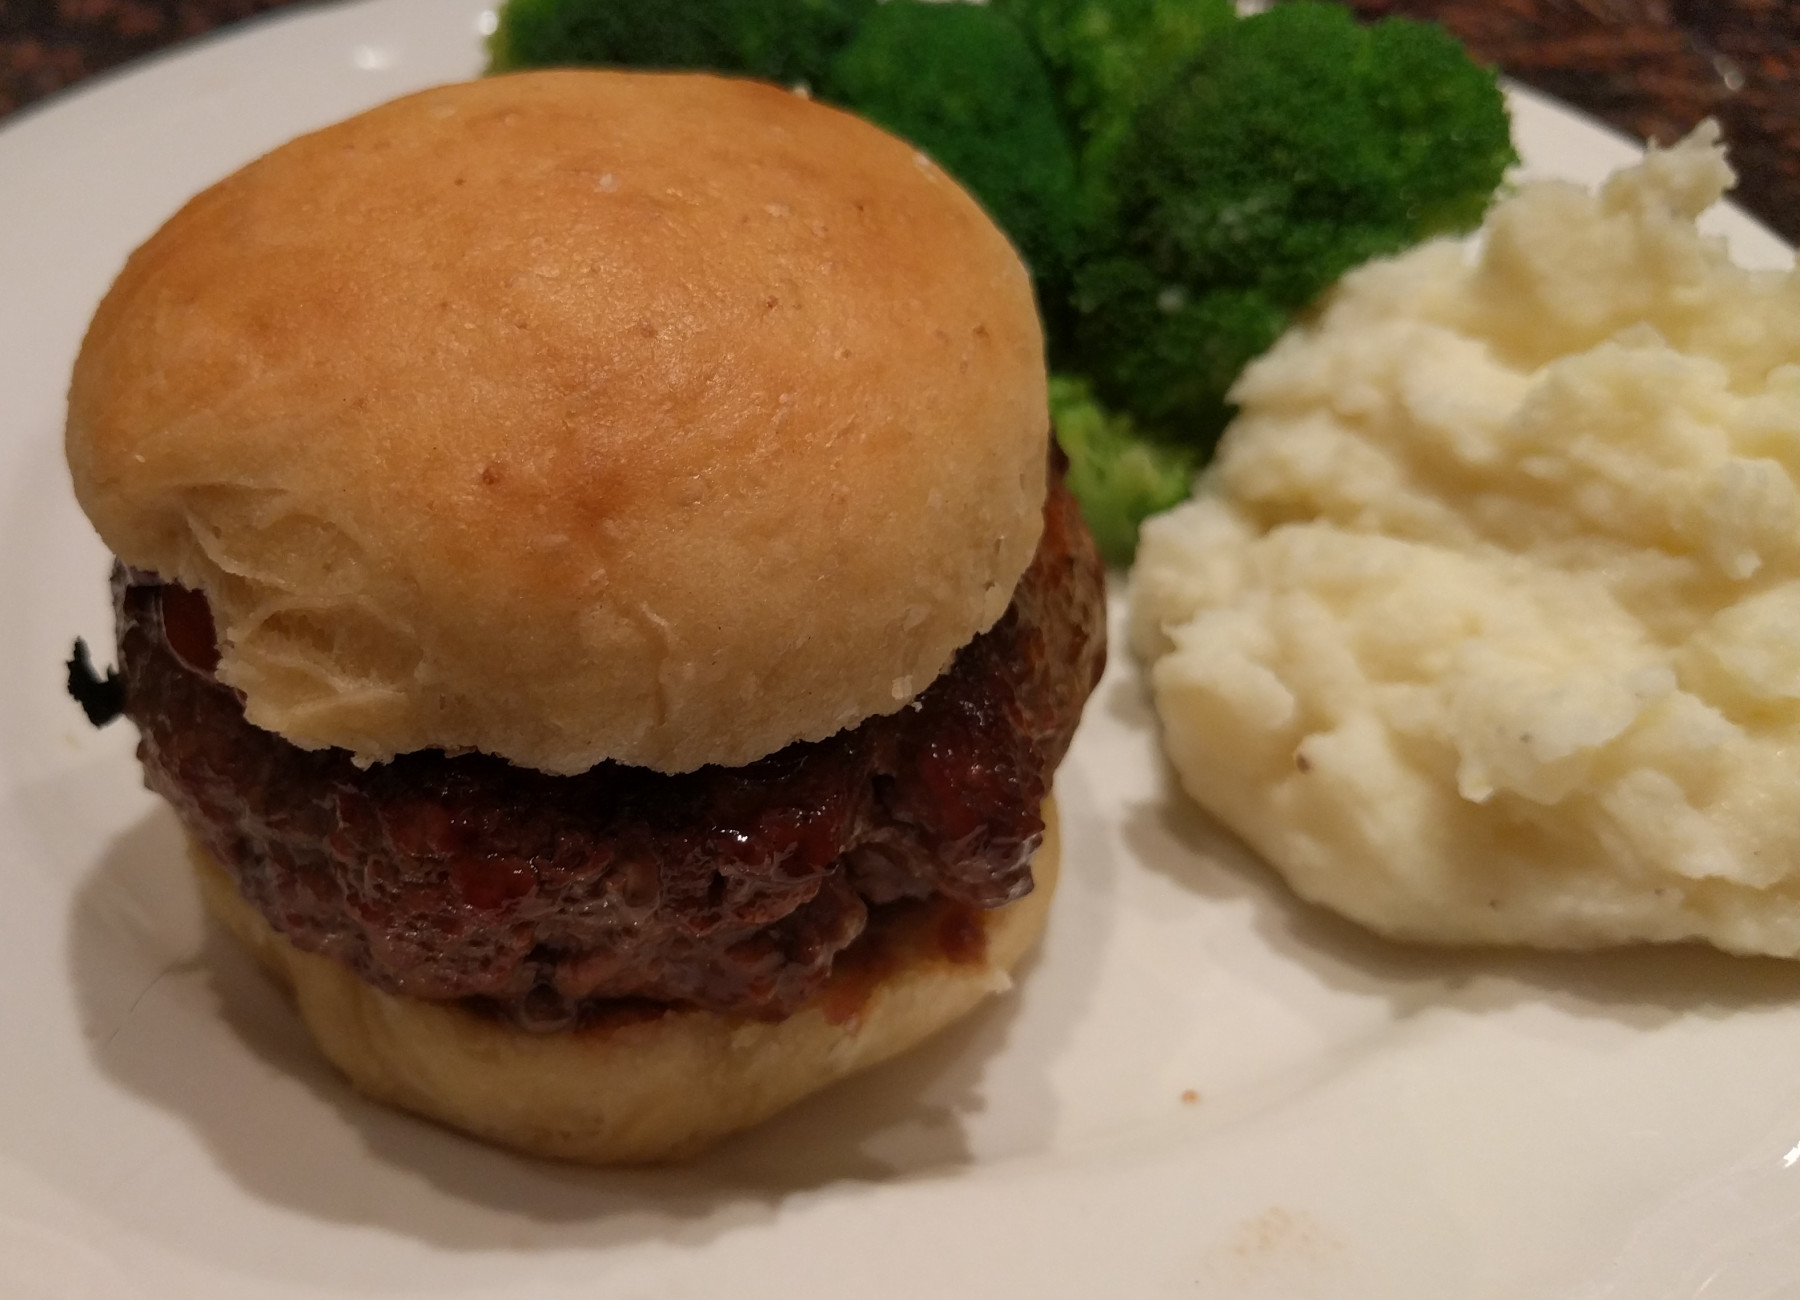
After a while they will be ready to eat and you can get them ready for that burger.

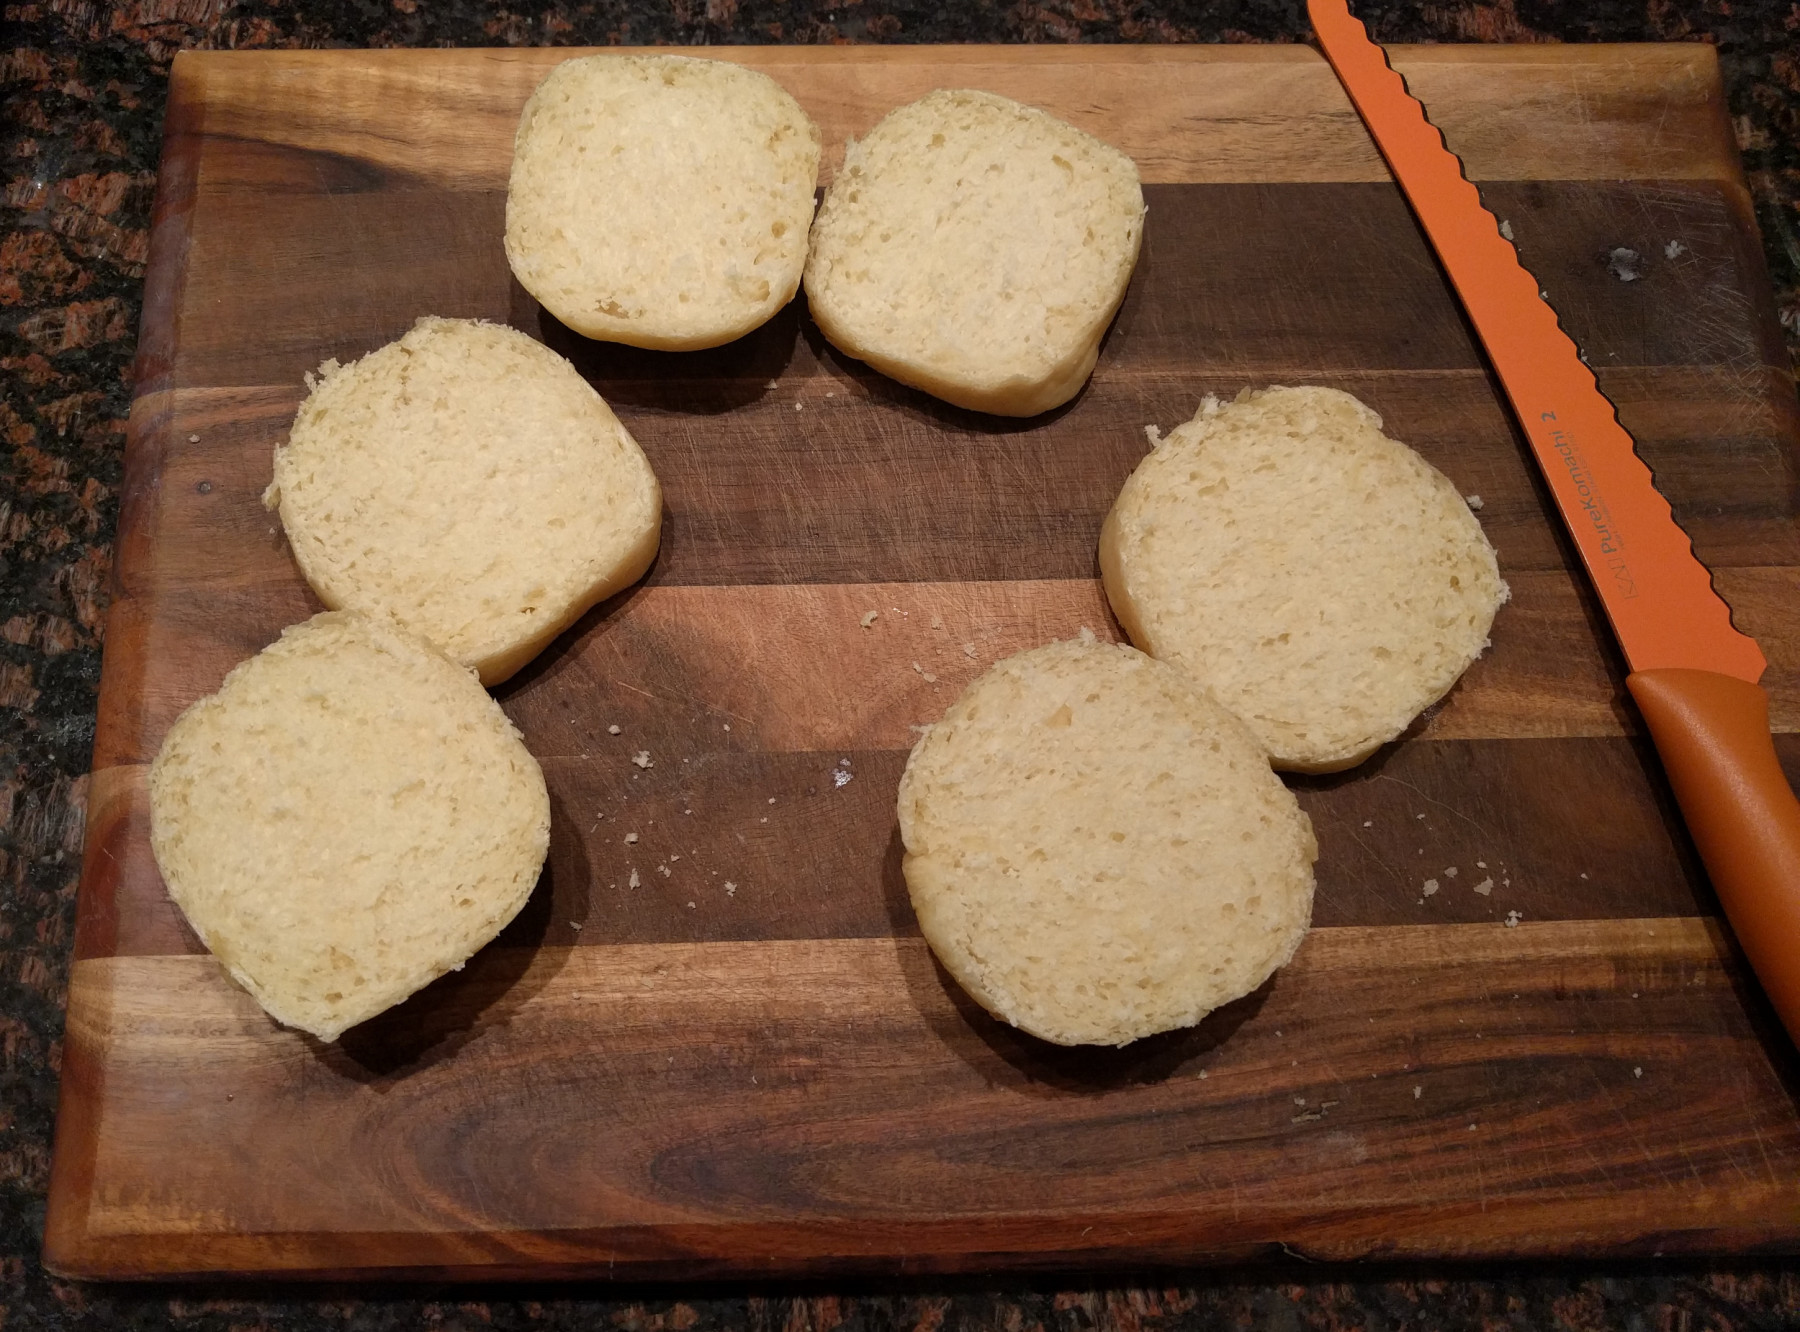

For a size reference that’s about an 8 ounce (1/2lb) burger so these buns are a good size for your more common 6oz burger.
Some variations to try include using an eggwash instead of melted butter, using the eggwash before baking, placing sesame or poppy seeds on top. Plenty of things to try once you get the base down.
The Recipe:
Prep time: 3.25hrs (20min active)
Cook time: 12-15mins
Total time: 3.5hrs
Dough:
.75 cup water
2 tbsp butter
1 large egg
418g flour
50g sugar
1.25 tsp salt
1 tbsp instant yeast
Topping:
2 tbsp melted butter
Total weight: 822g
Total calories: 2106
Mix and knead all dough ingredients to form smooth dough ball. Cover and let rise for 2 hours. Divide into 12 buns and shape as best you can. Place buns on parchment lined baking sheet, cover and let rise for 1 hour. Preheat oven to 375F. Bake for 12-15mins or until golden brown. Remove from oven, brush with melted butter and cool on wire rack.
